LAY STILL
Description:
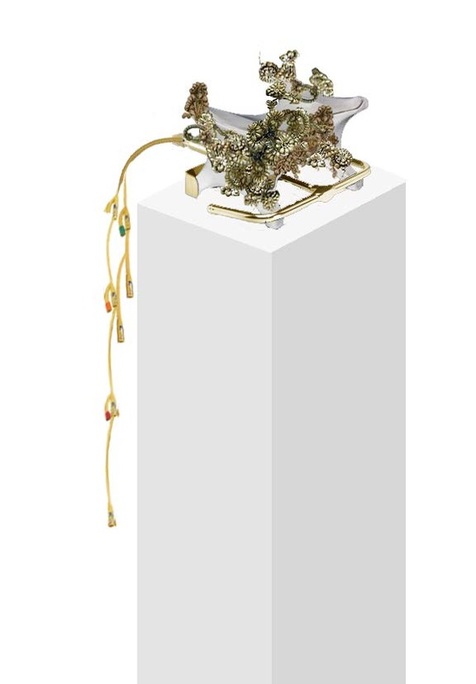
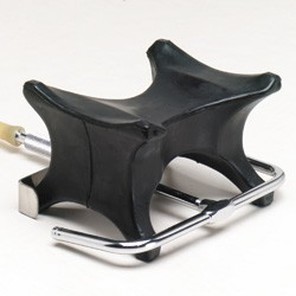
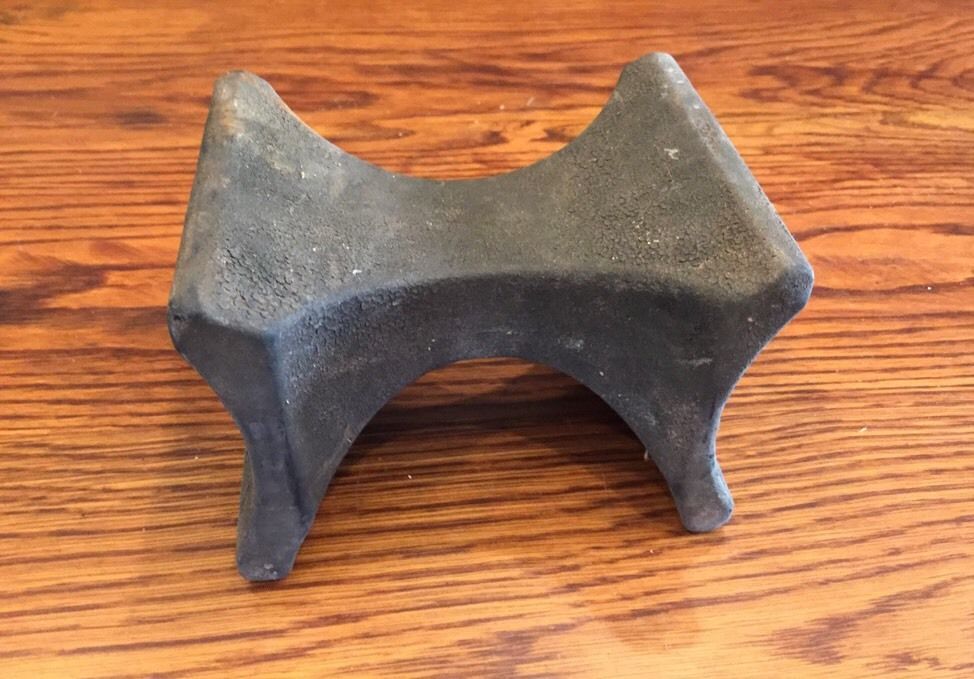
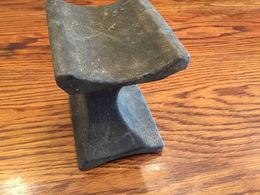
A shapely headrest is covered with flowers made from blond human hair and tiny pearls, while a gold-leafed instrument snakes around its base. Plastic and rubber hoses tangle together and reach for the floor. Long porcelain slats lay parallel on the floor and are finally broken into broken shards with bound hands.
Medium: plaster cast mortuary headblock, human hair, seed pearls, gold-leafed tubing, natural latex tubing, broken porcelain, water, marble dust, camphor oil, bodily fluid from an accident victim, labels, wire, epoxy
Medium: plaster cast mortuary headblock, human hair, seed pearls, gold-leafed tubing, natural latex tubing, broken porcelain, water, marble dust, camphor oil, bodily fluid from an accident victim, labels, wire, epoxy
|
|
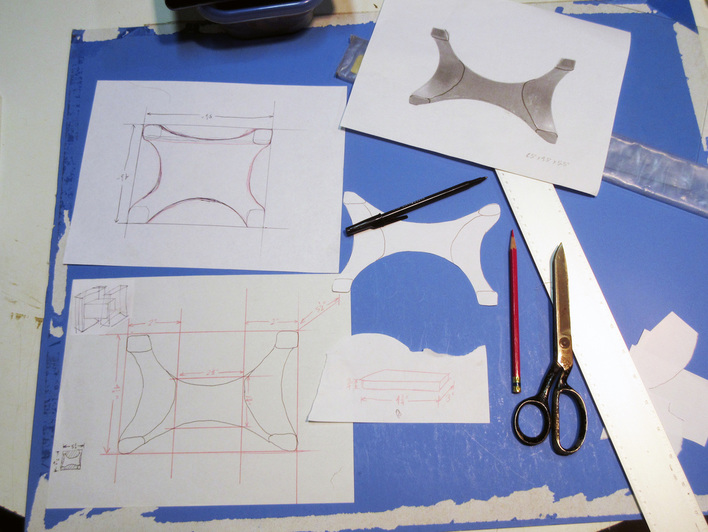
1. Make a Photoshopped sketch
2. Collect pictures for reference

Dimensions: 4.50 x 6.50 x 5.50 inches
|

|
|
|
|

|

|
|
|
|
|

|
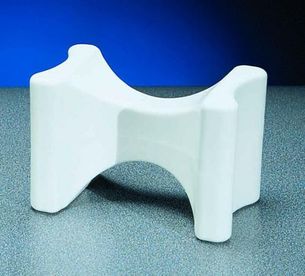
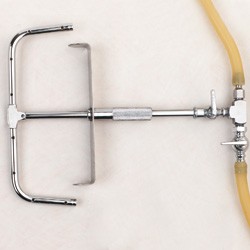
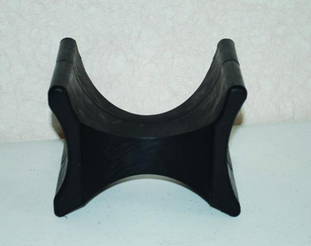
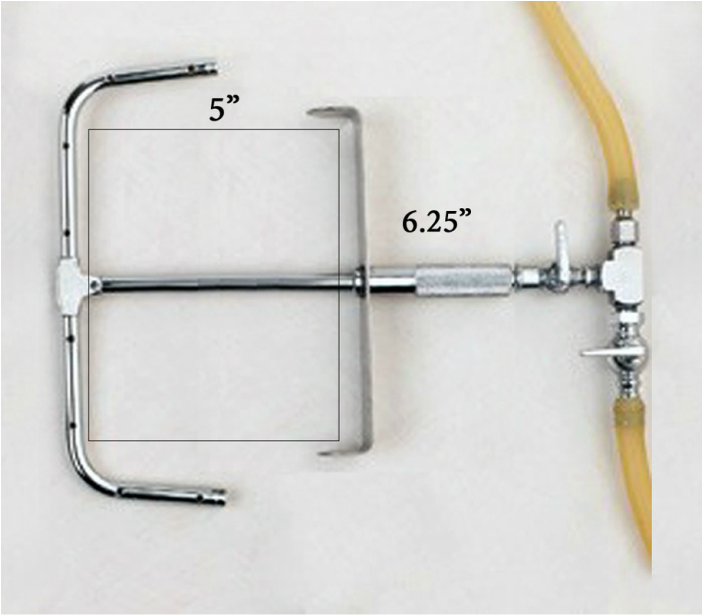
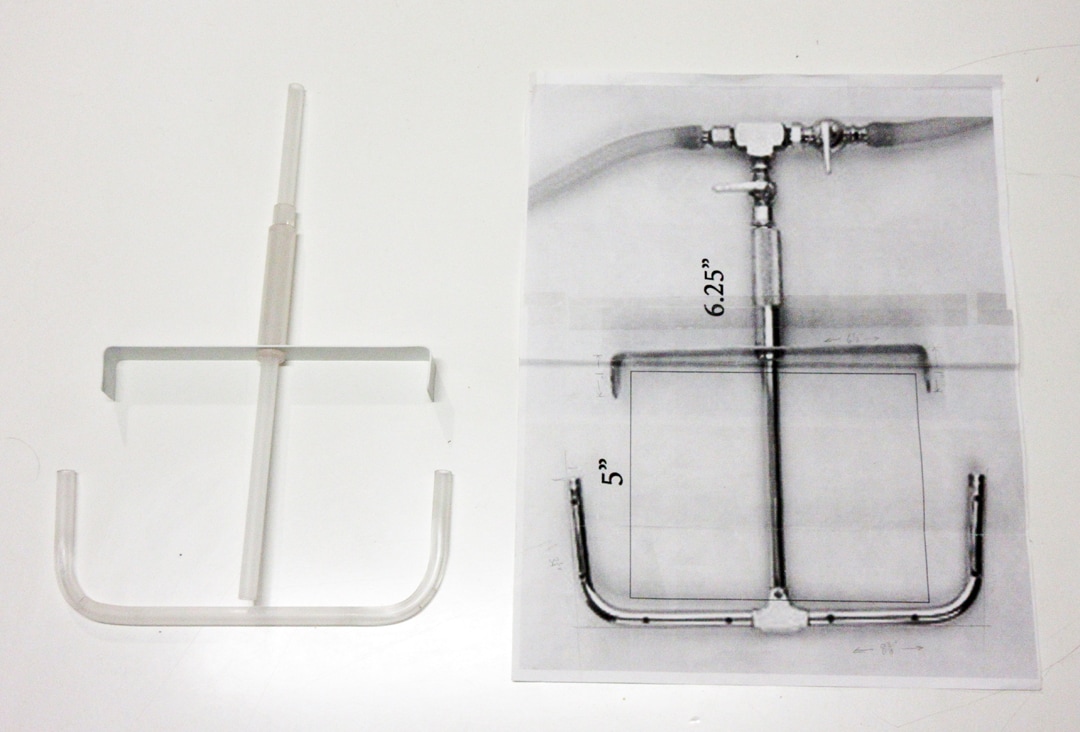
Dimensions: 7-1/4" L x 5" W
|
|

|
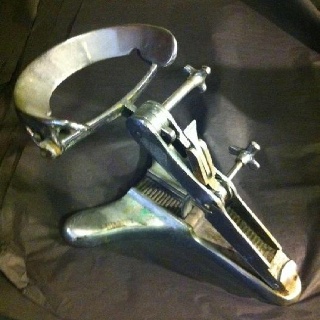
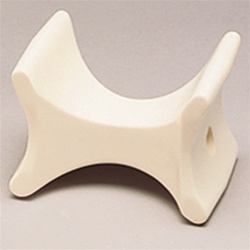
Dimensions: 6" L x 4-1/2" W.
|
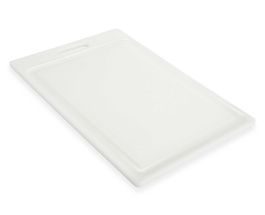
12" x 18"
3. Make template with paper - 12/09/2015
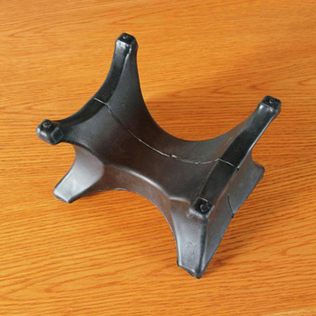
Today I worked on a pattern for fabricating a headblock. In the end, I decided I would just buy one and make a mold. My time was not wasted though, for I may decide to make a wood version too.
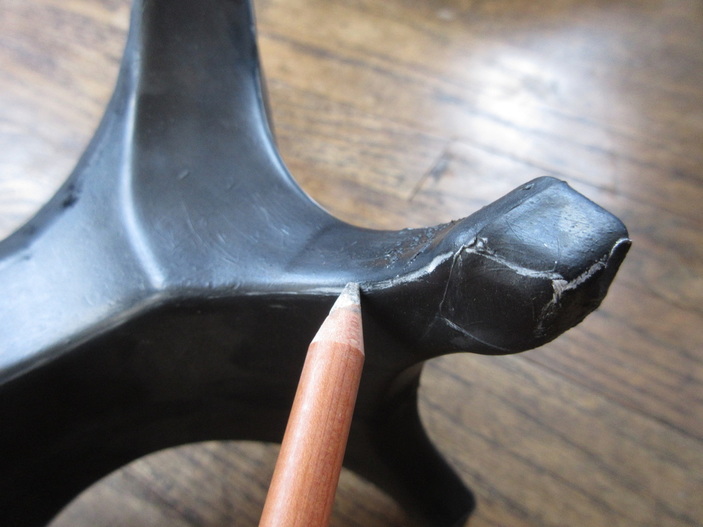
4. Mark original with seamlines for making a mold - 01/19/2016
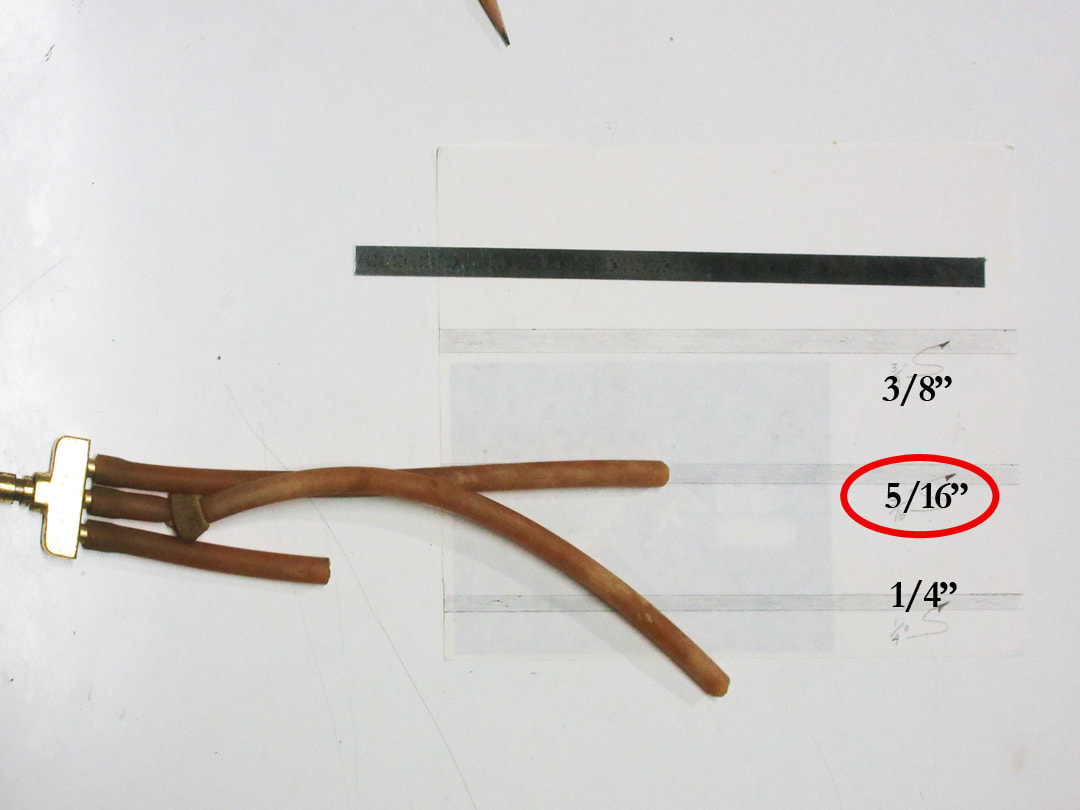
5. Make a scale printout for fabricating rinsing device - 01/19/2016
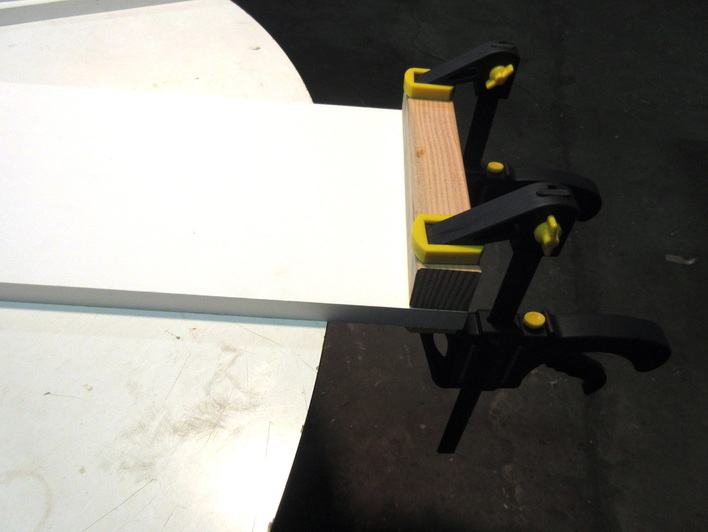
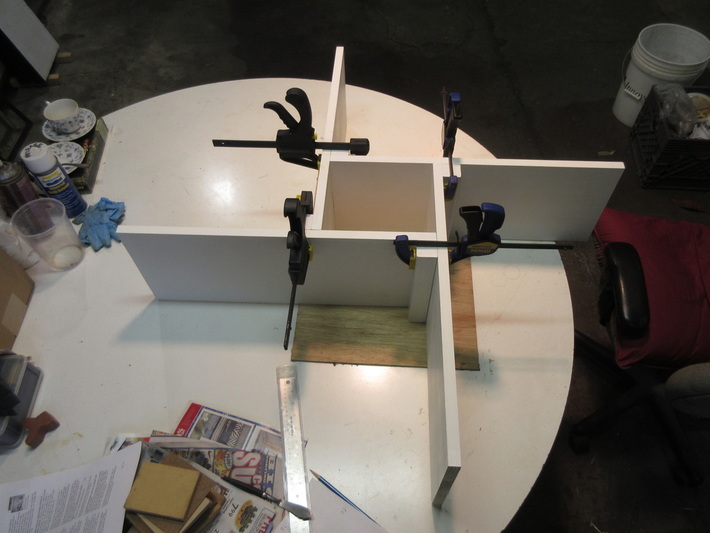
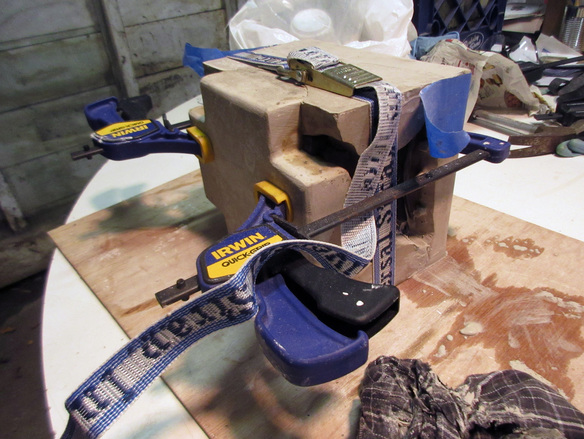
5. Create cottleboards - 01/20/2016
I fabricated four cottleboards, which will create a more precise and better mold.
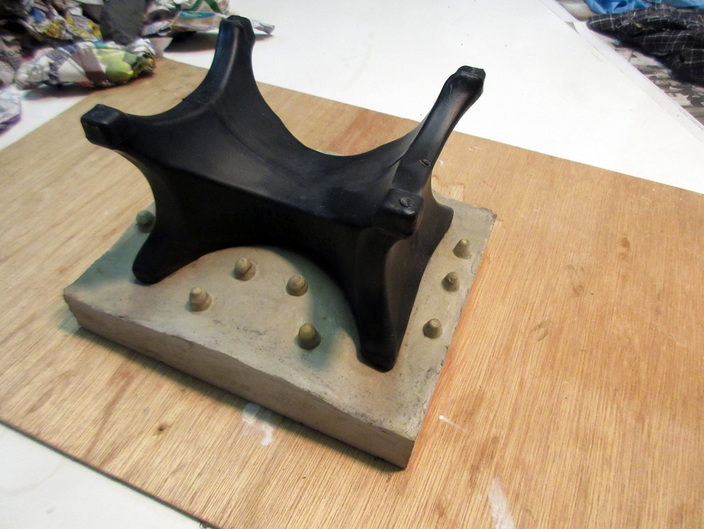
6. Part one of mold: Create a retaining wall - 02/14/2016
Spent some time today creating a retaining wall made from Plasticine, complete with keys. When I visit next, I will pour the first part of this six part mold.

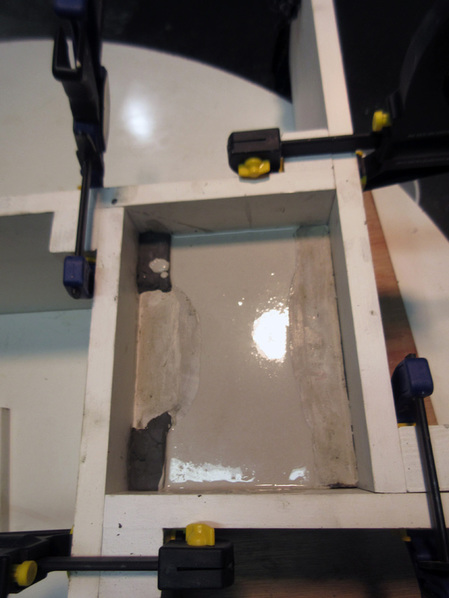
7. Part one of mold: Poured Ultra-Cal 30, let dry, and examined it - 02/18/2016
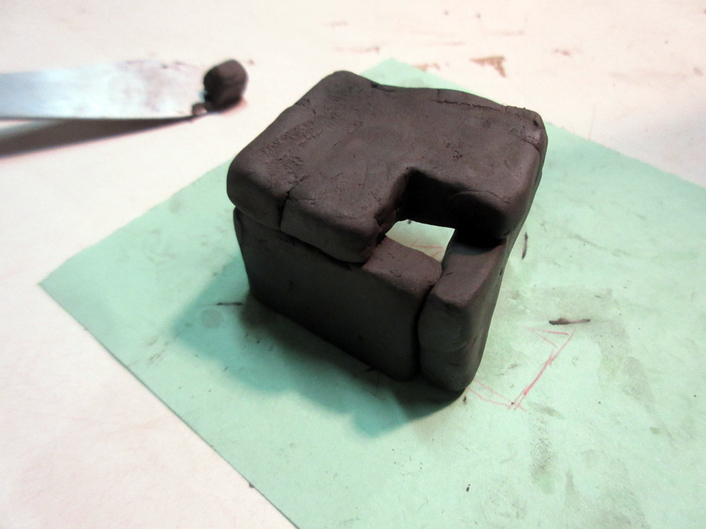
8. Part two of mold - 02/25/2016
I had to problem solve how I was going to create the pour holes. I made a quick mock up of one of the corners with some clay.
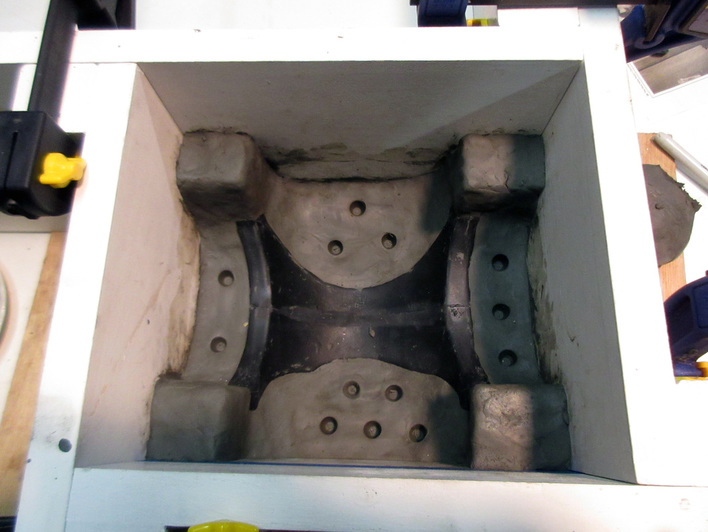
Then I created a retaining wall with keys.
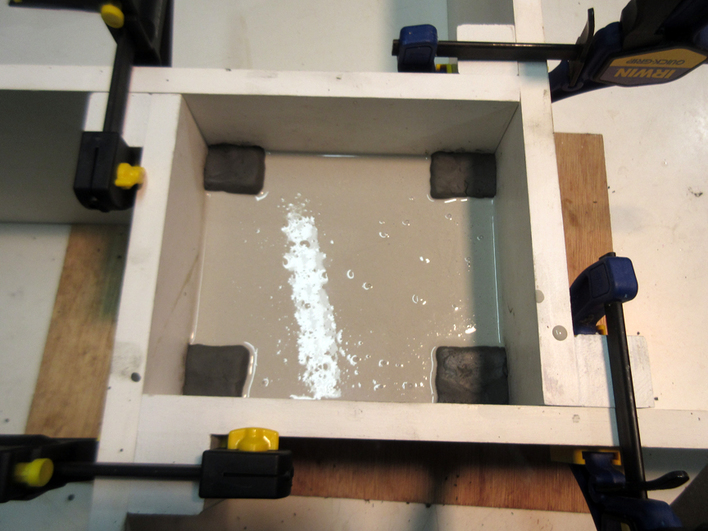
Finally, I poured the Ultra-Cal 30 like before.
Finally, I poured the Ultra-Cal 30 like before.
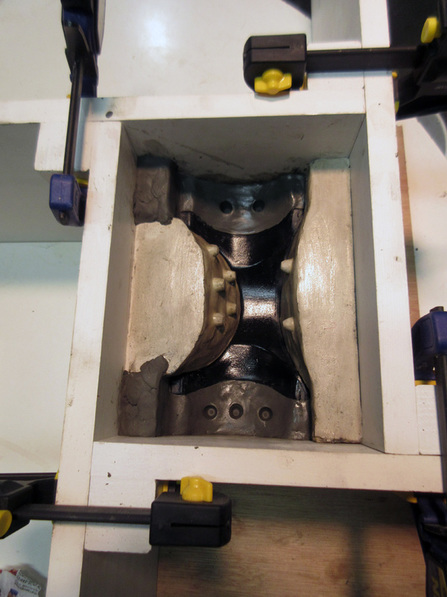
9. Part three of mold - 03/01/2016
Opened the mold and cleaned up the keys. Then put the whole thing back in the cottleboards, created new retaining walls, and poured the third part of the mold.
10. Part four of mold - 03/13/2016
It was raining earlier, but I decided to stop by my studio to pour the fourth part of the mold I'm working. This section is the same as the previous side.
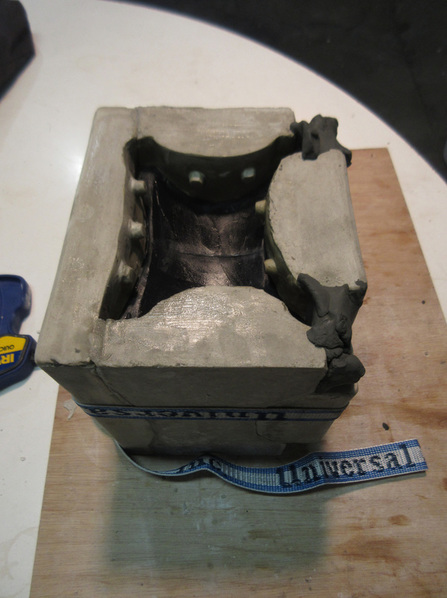
11. Clean up and adjust mold - 03/17/2016
Today I took apart my mold to examine the new mold piece. I had to make some adjustments and then unfortunately discovered that the third piece no longer fit correctly. I spent the rest of the evening, cleaning up all the pieces, and finally attempting to fix the third piece.
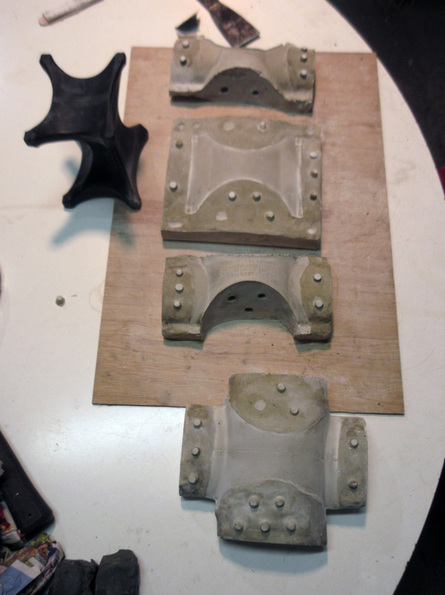
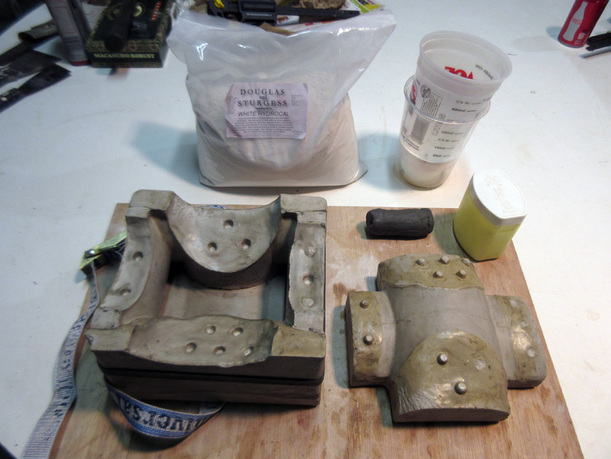
12. Pour part five and six of mold - 03/25/2016
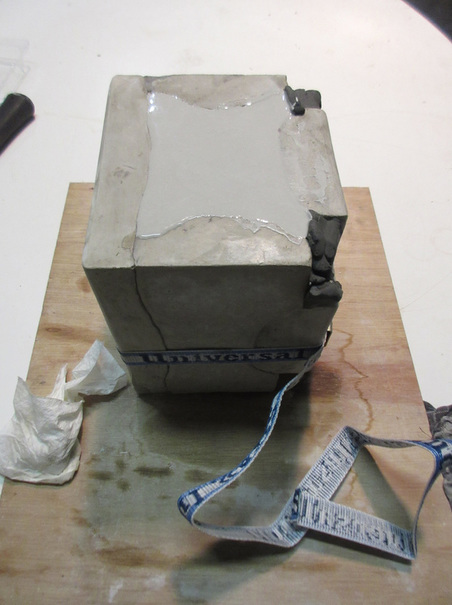
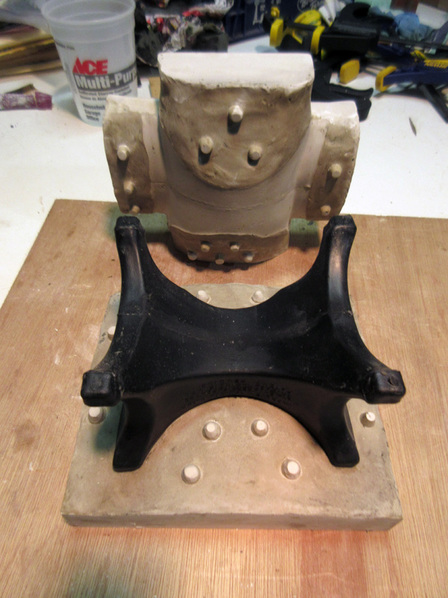
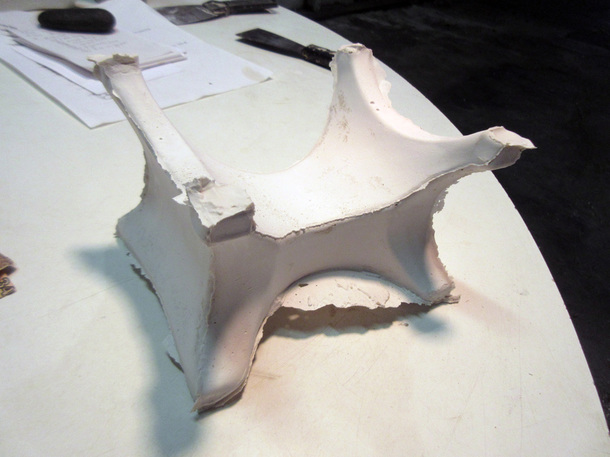
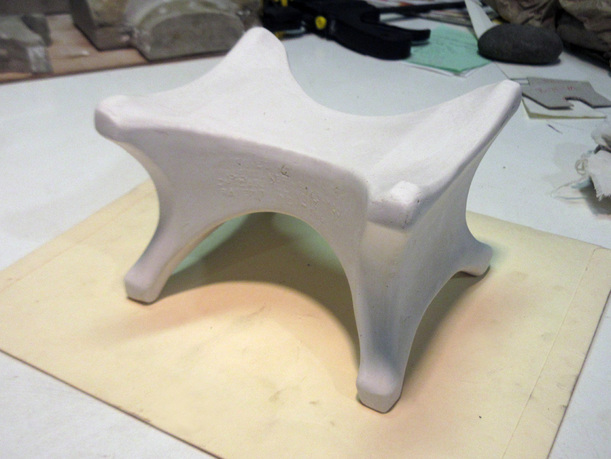
13. Making a first casting - 03/30/2016
I started by opening the complete mold and cleaning it up. Then covered the inside with vaseline for a mold separator and then poured my first casting. I waited for awhile and then opened the mold, removed the casting, and spent about 20 minutes cleaning up the mold lines.
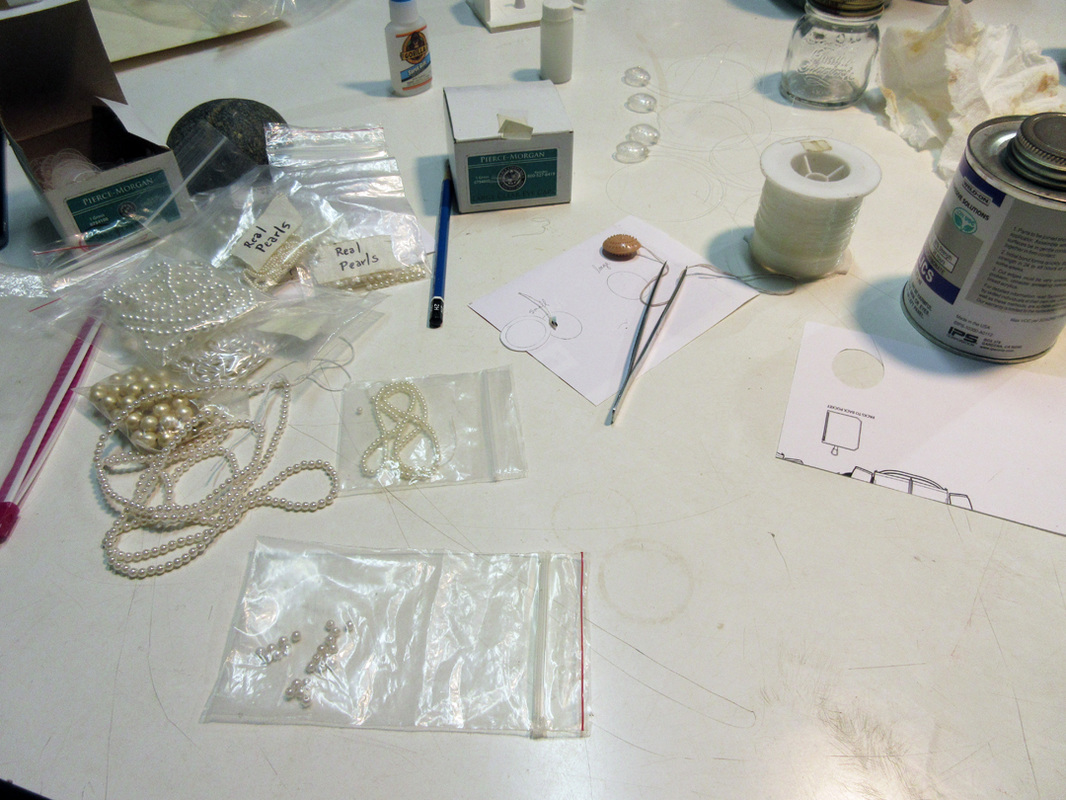
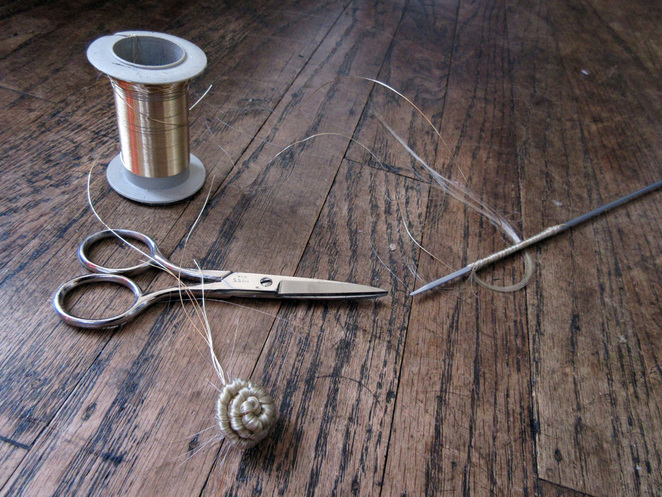
14. Created four hair flowers - 04/26/2016
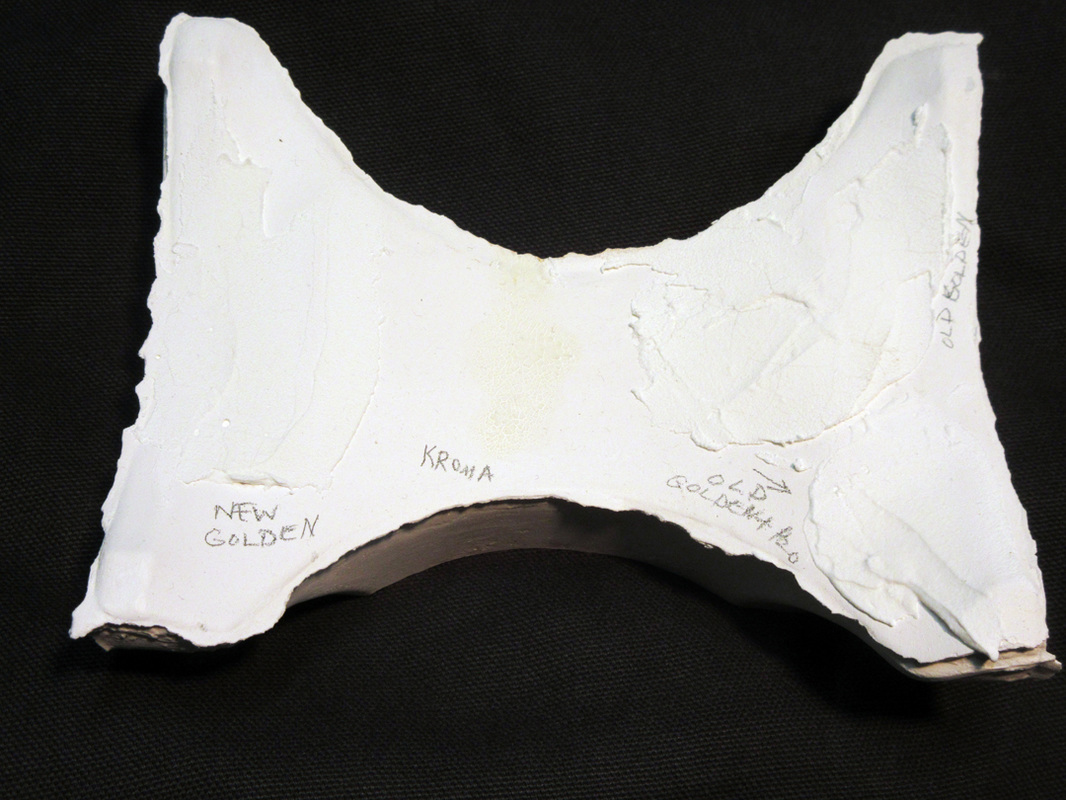
• Apply crackle medium - 05/11/2016
I started the day by doing a test with two different crackle mediums. They take a couple days to dry, so I will make my decision on my next visit.
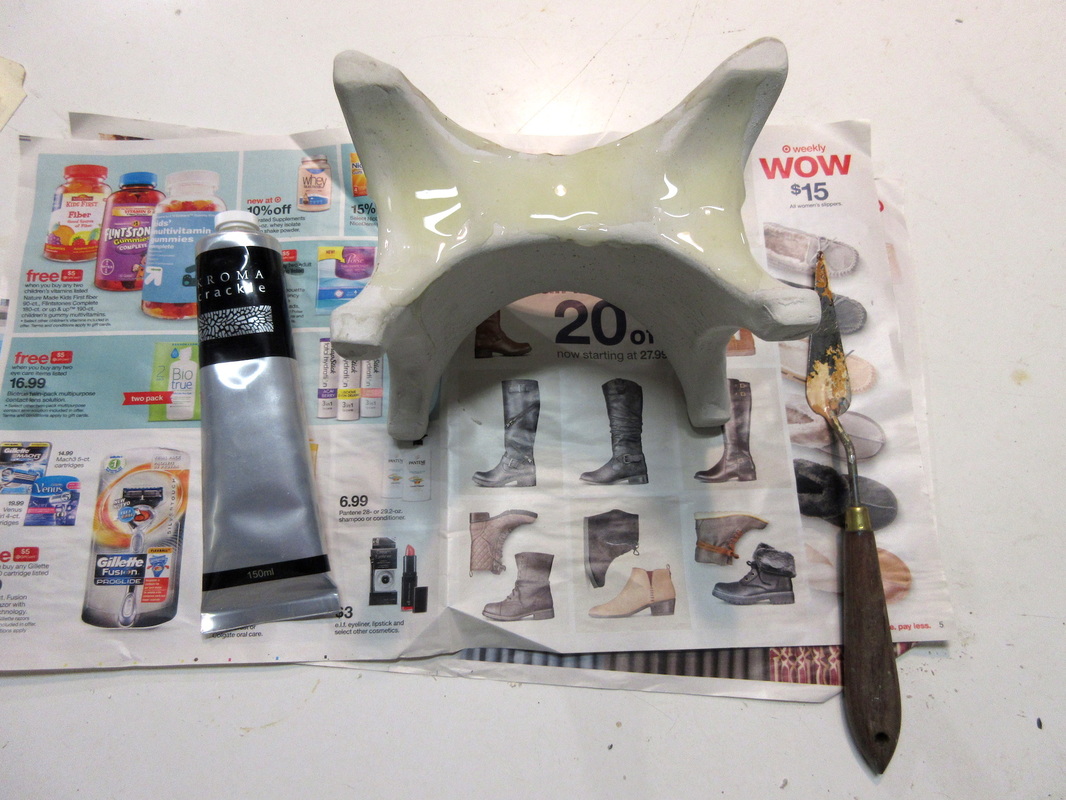
• Apply crackle medium - 05/11/2016
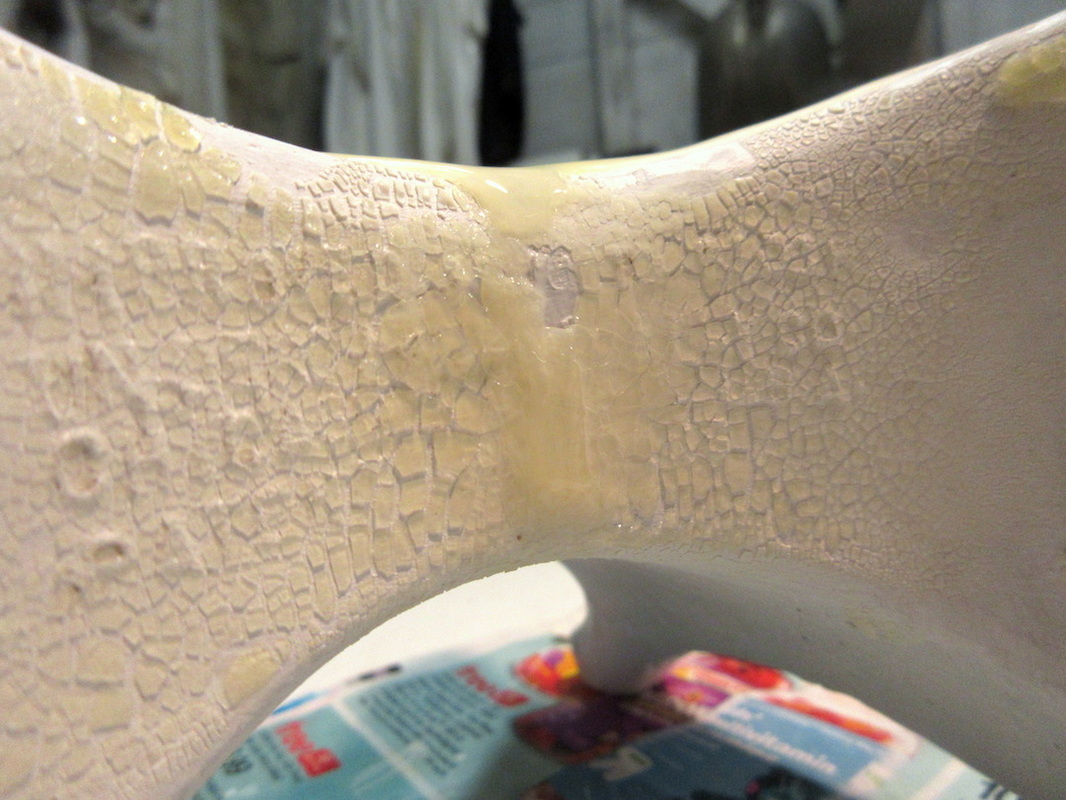
After conducting the previous tests, I decided to go ahead and use the Kroma Crackle. I applied it rather thick.
• Apply crackle medium - 05/11/2016

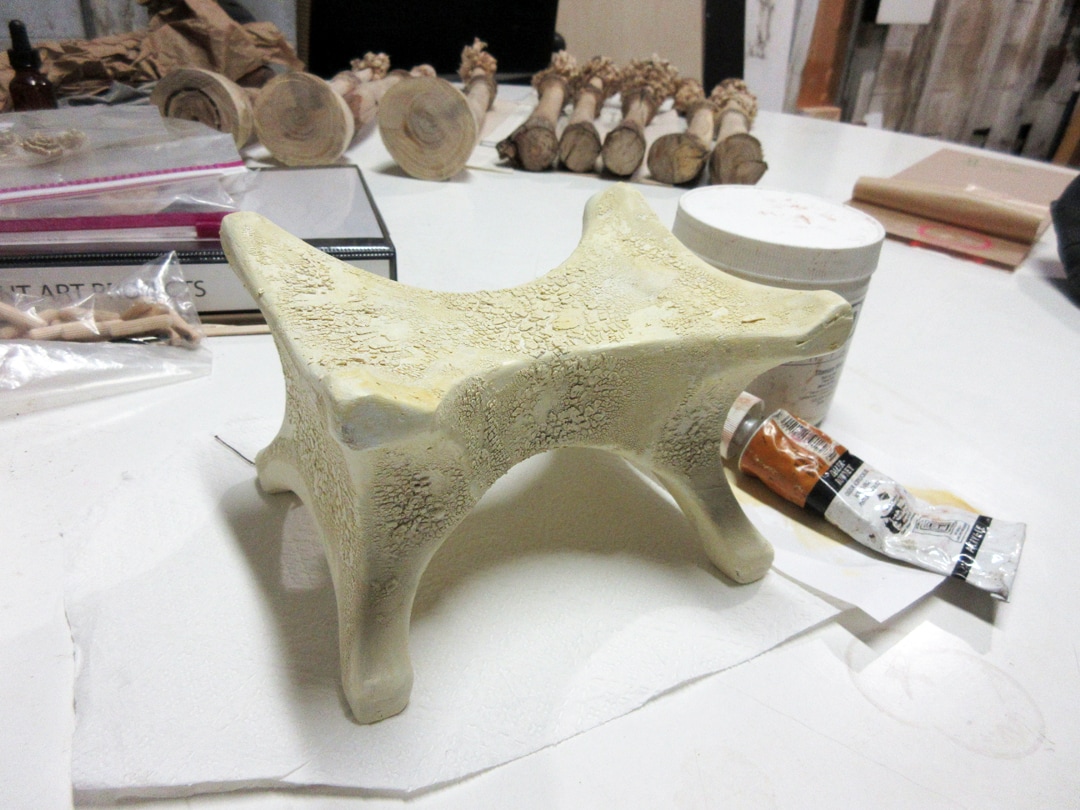
• Apply first layer of paint - 11/18/2016
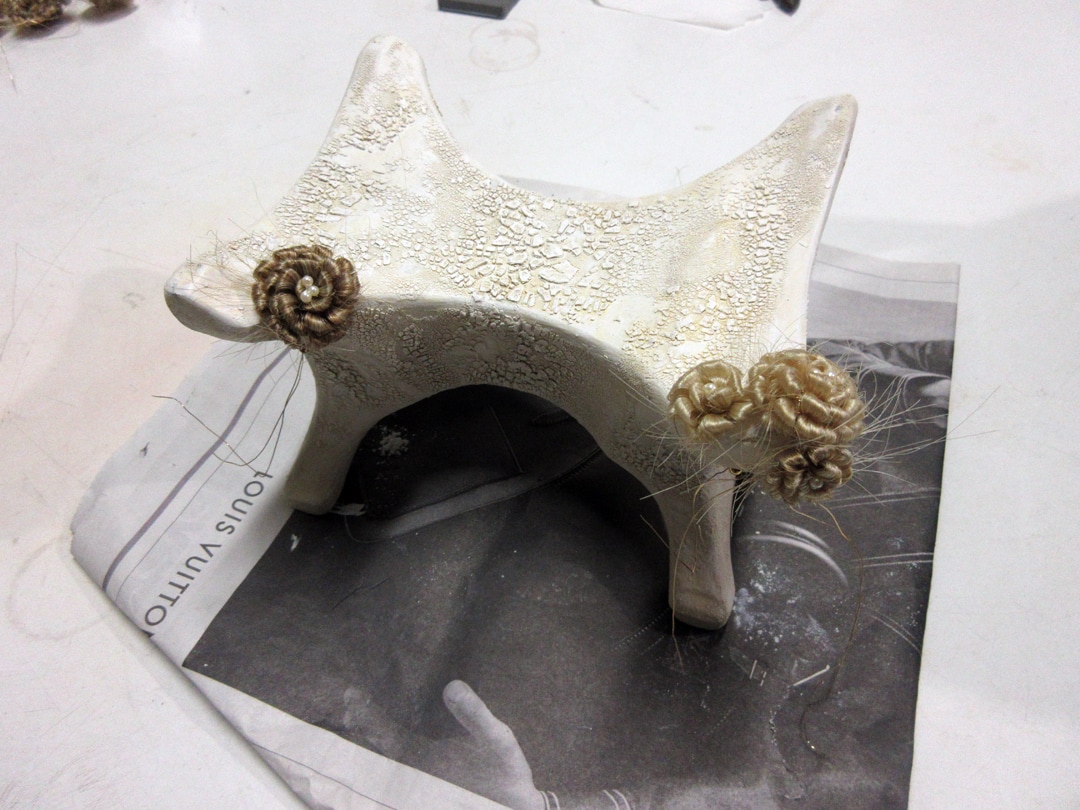
• Apply final layer of paint and attach several hair flowers - 12/02/2016
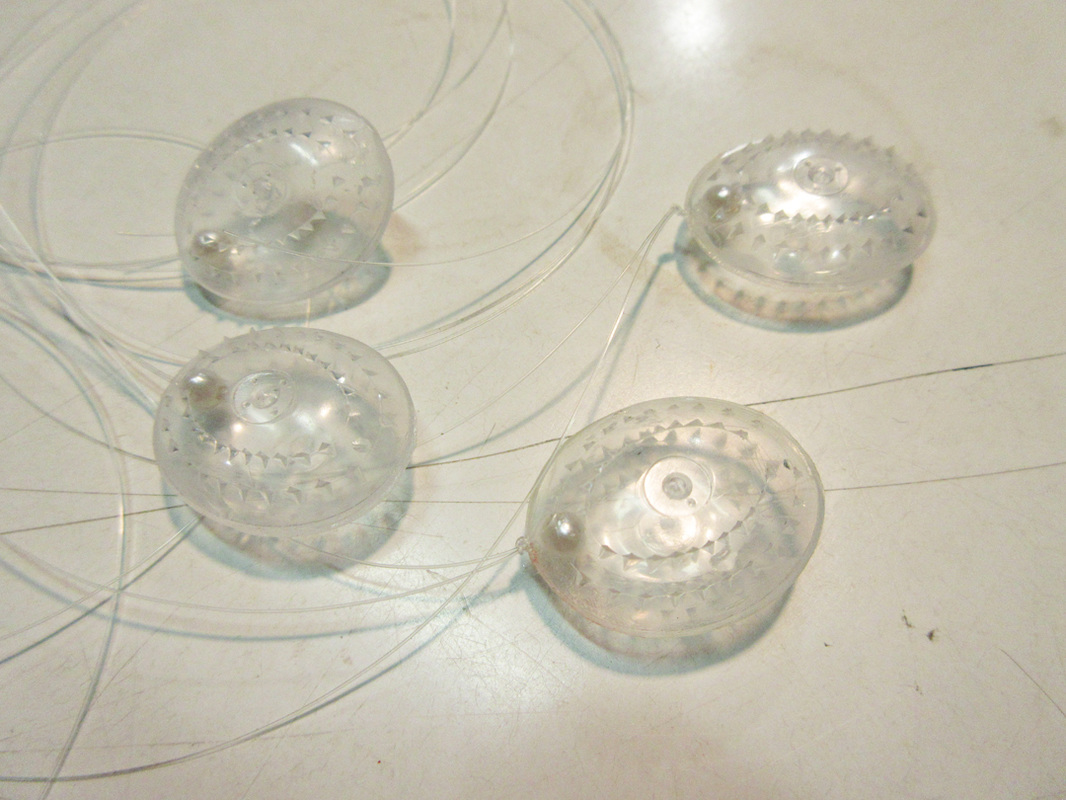
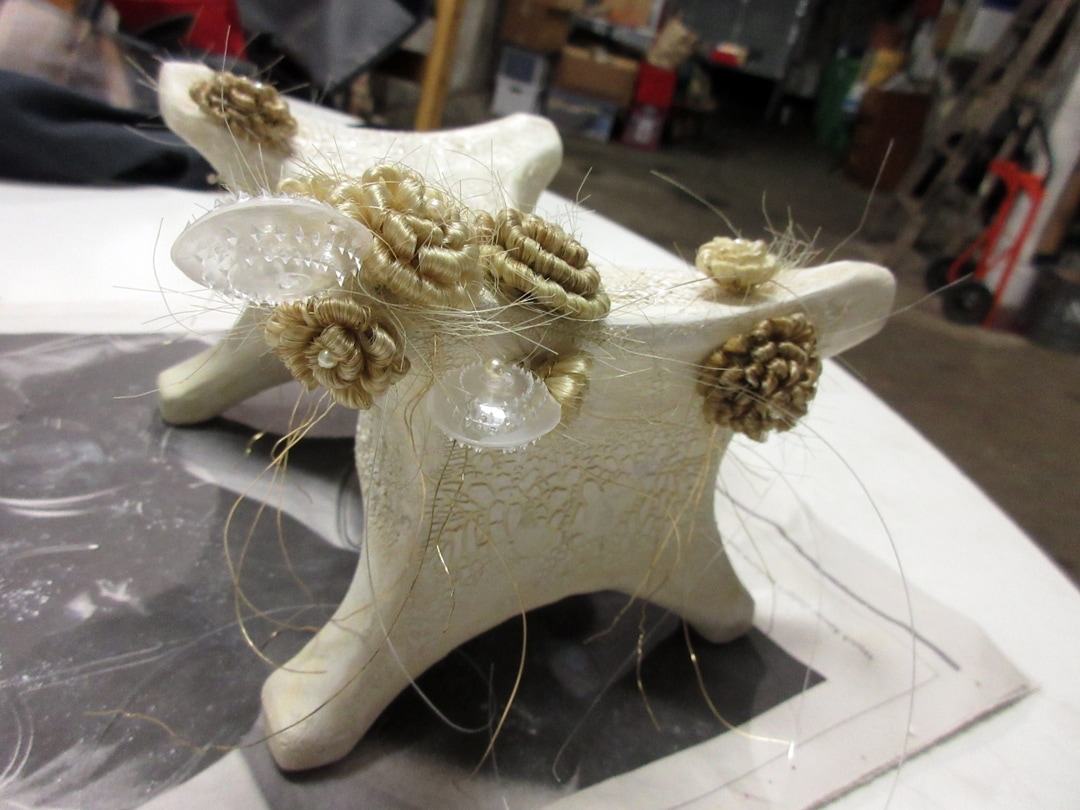
• Experiment with attaching eyecaps - 01/24/2017
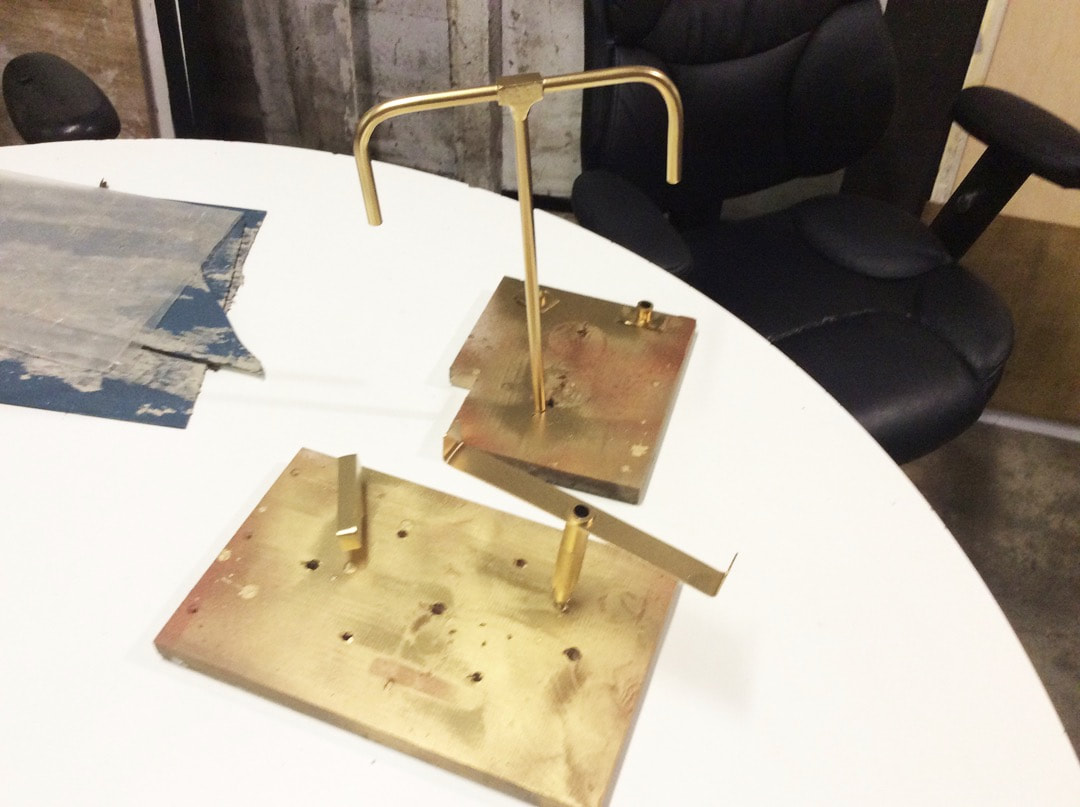
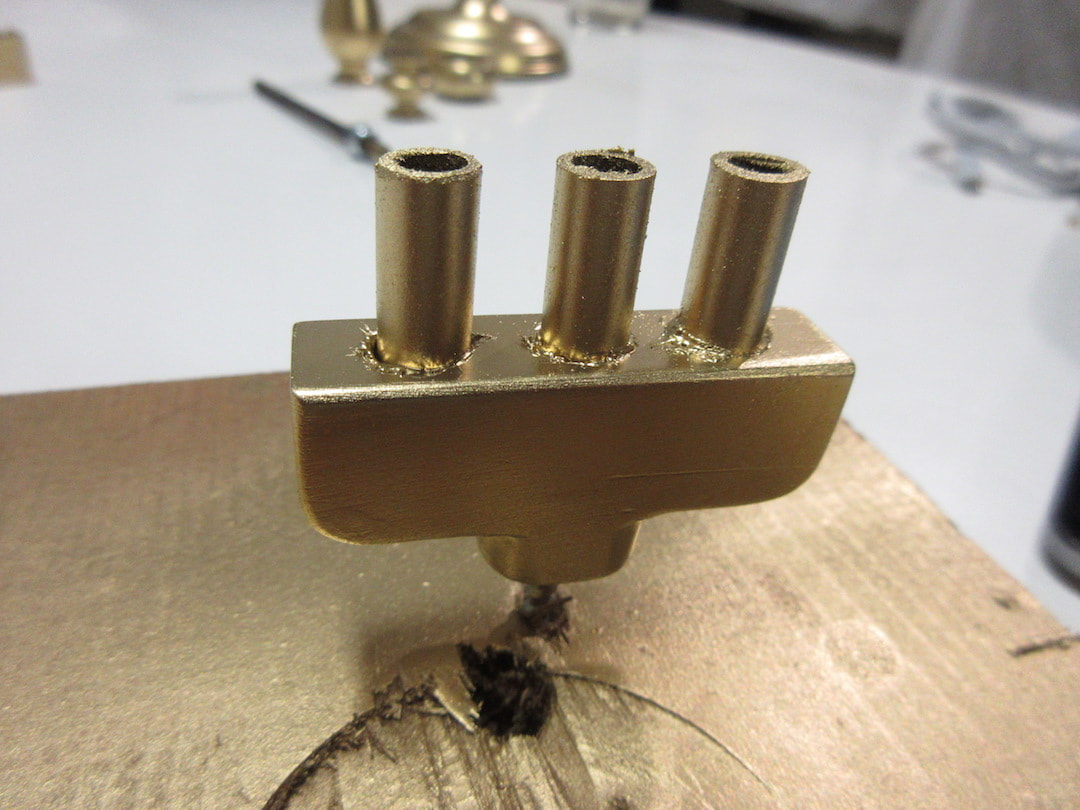
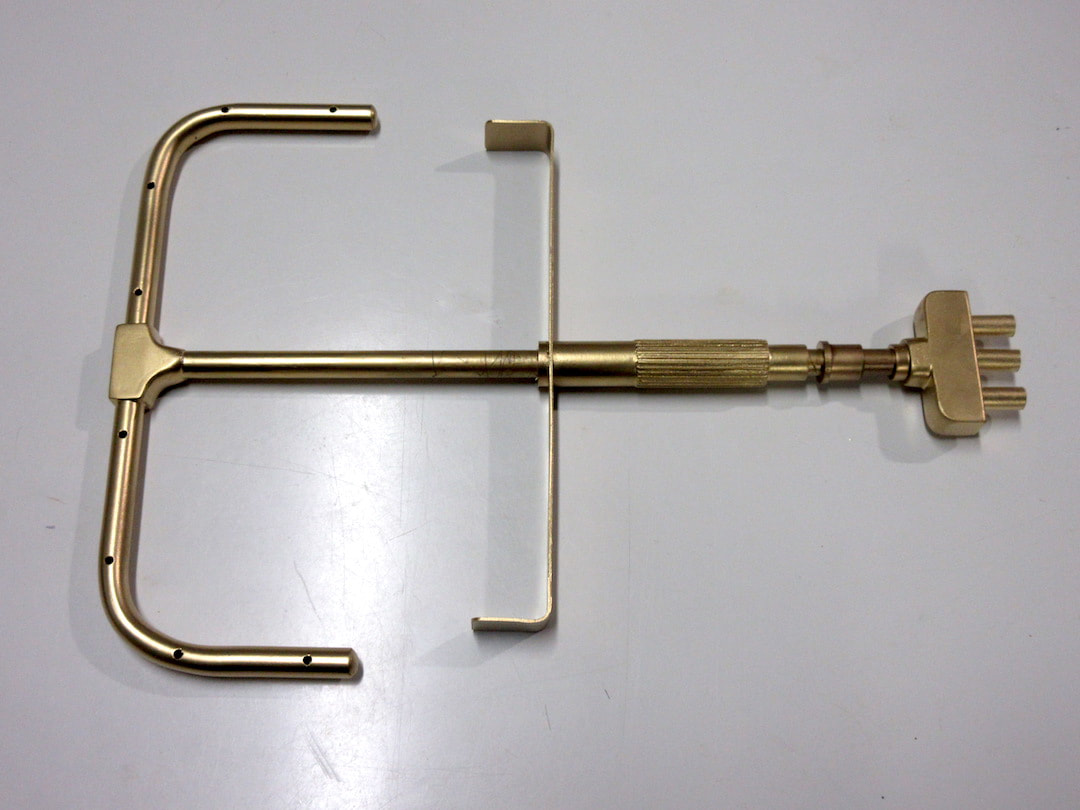
• Fabricating another aspect - 06/30/2017
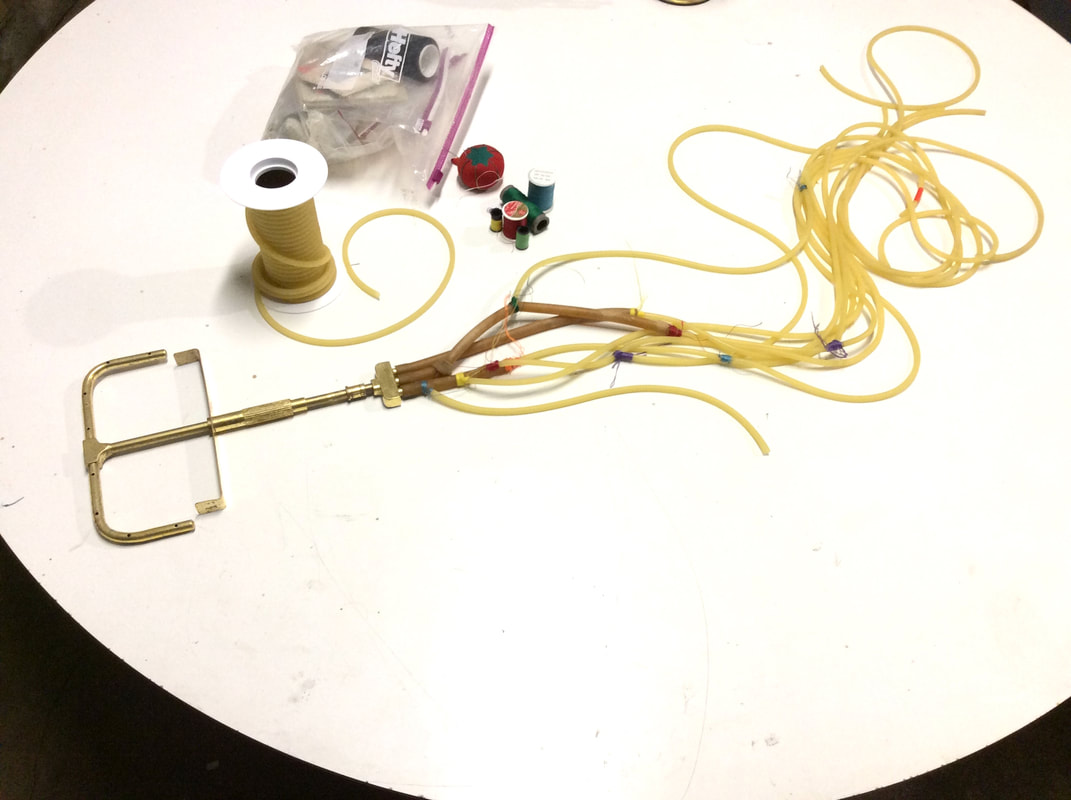
• Continue to work on tubing - 07/07/2017
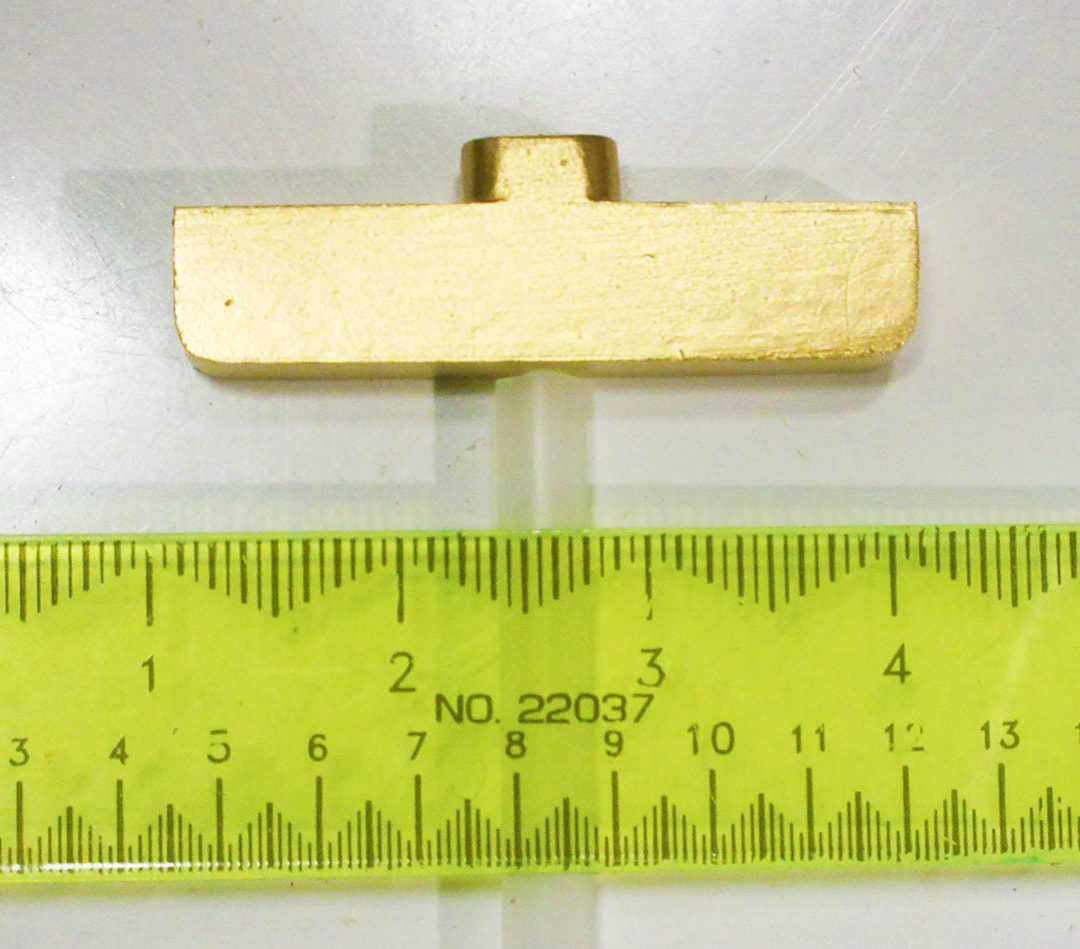
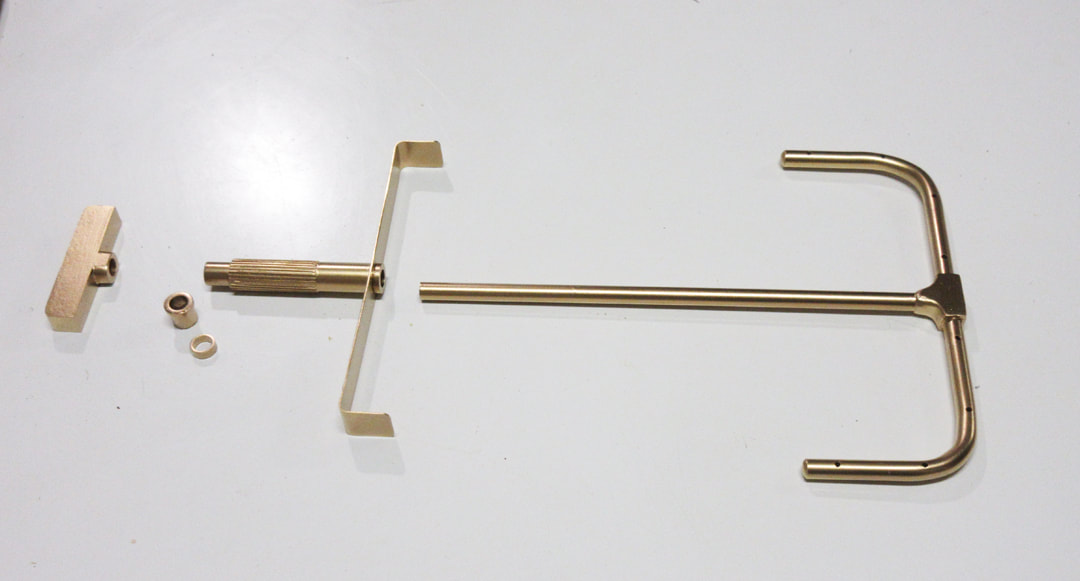
• Altered end piece - 07/28/2017
• Research latex tubing - 08/14/2017
Today I conducted research for the price and sizes of latex tubing for the art installation Lay Still.
• Graham-Field 3931 316 Latex Tubing, 50', 1/8" I.D, 3/16" O.D, 1/32" Wall
$23.62
• Grafco Pure Amber Latex Tubing, 1/8" I.D., 3/16" O.D., 1/32" Wall, 50 Ft. Reel
$20.52 + 2.60
• Graham-Field 3931 14 Latex Tubing, 50', 1/8" I.D, 1/4" O.D, 1/16" Wall
$30.12
• Graham-Field 3935 14 Latex Tubing, 50', 5/32" I.D, 1/4" O.D, 3/64" Wall
$28.56
• Graham-Field 3932 132 Latex Tubing, 50', 1/4" I.D. x 5/16" O.D. x 1/32" Wall
$25.76
• Graham-Field 3933 516 Latex Tubing, 50', 3/16" I.D. x 5/16" O.D. x 1/16" Wall
$28.33
• Latex Tubing - 1/4" I.D., 3/8" O.D., 1/16" Wall 50ft. (1/box)
$30.20 + $2.60 shipping
• Latex Tubing - 1/4" I.D., 3/8" O.D., 1/16" Wall 50ft. (1/box)
$32.77
• Graham-Field 3934 716 Latex Tubing, 50', 5/16" I.D. x 7/16" O.D. x 1/16" Wall
$32.80
• Graham-Field 3934 12 Latex Tubing, 50', 5/16" I.D. x 1/2" O.D. x 3/32" Wall
$45.53

• Research latex tubing - 12/15/2017
• Experiment with latex tubing - 02/17/2017
• Experiment with combinations of beads and eyecaps - 4/29/16