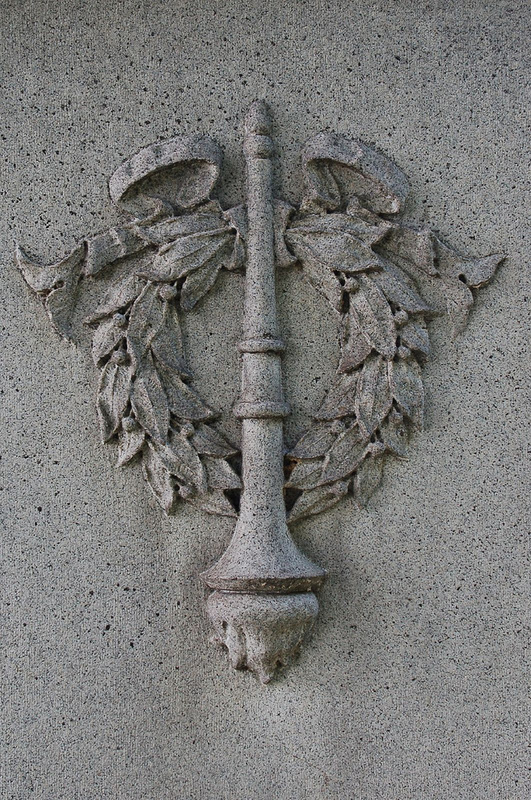
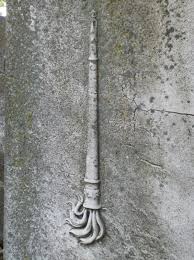
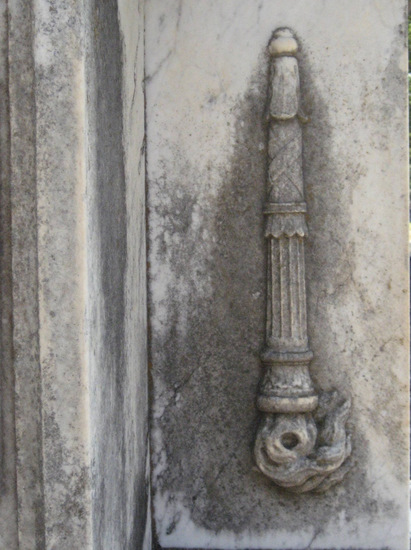
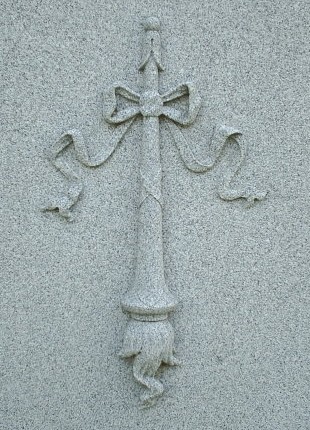
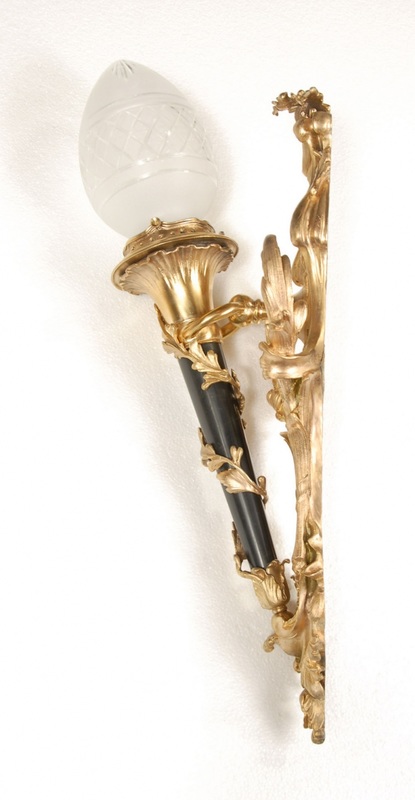
INVERTED TORCHES
Description:
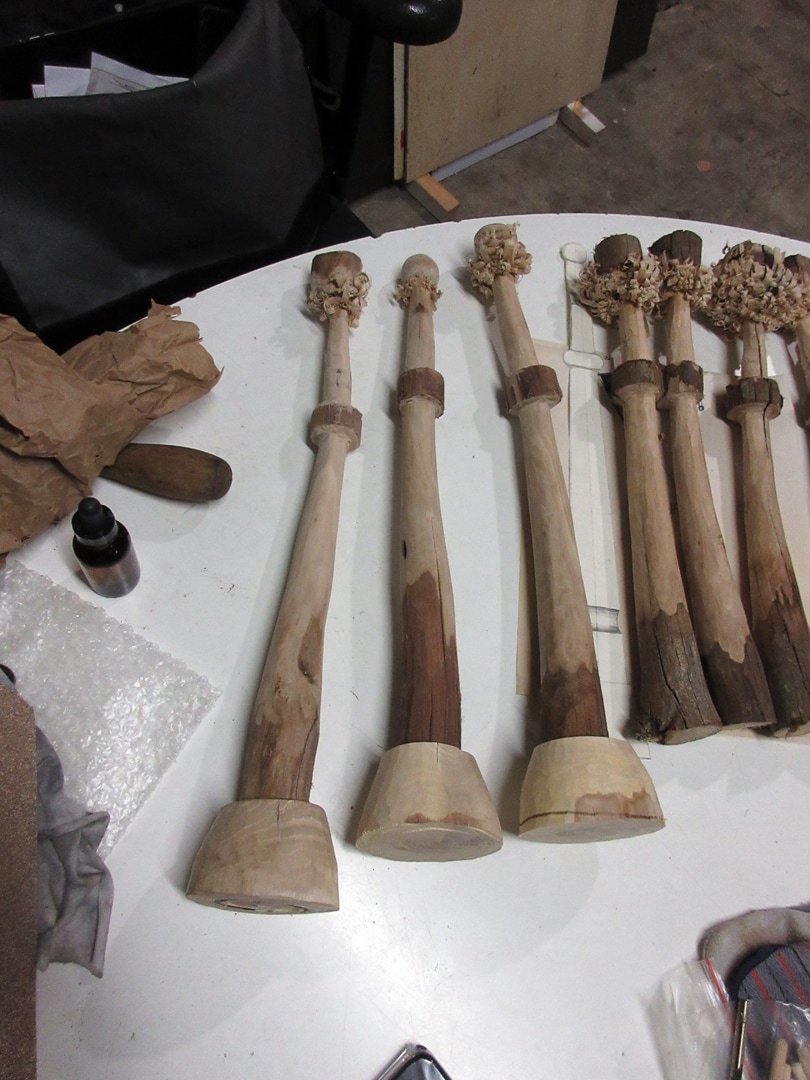
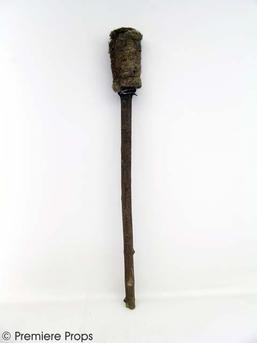
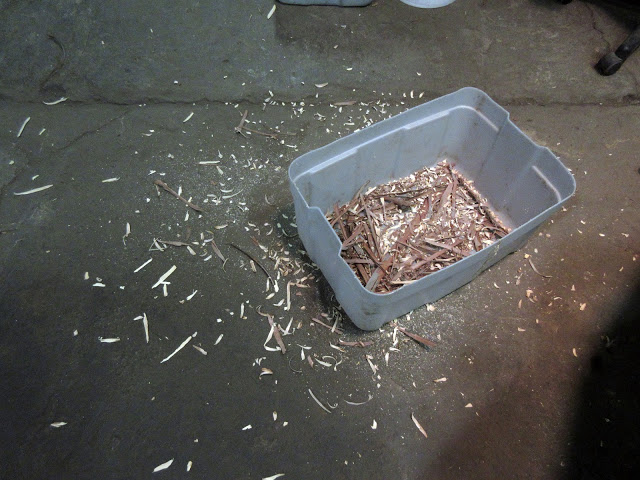
Fifty hand-carved torches are blackened and charred. They hang upside down from golden string in a giant clump. The leftover carved shavings sit in a large pile below, while above are gold embellishes and small tags.
|
|
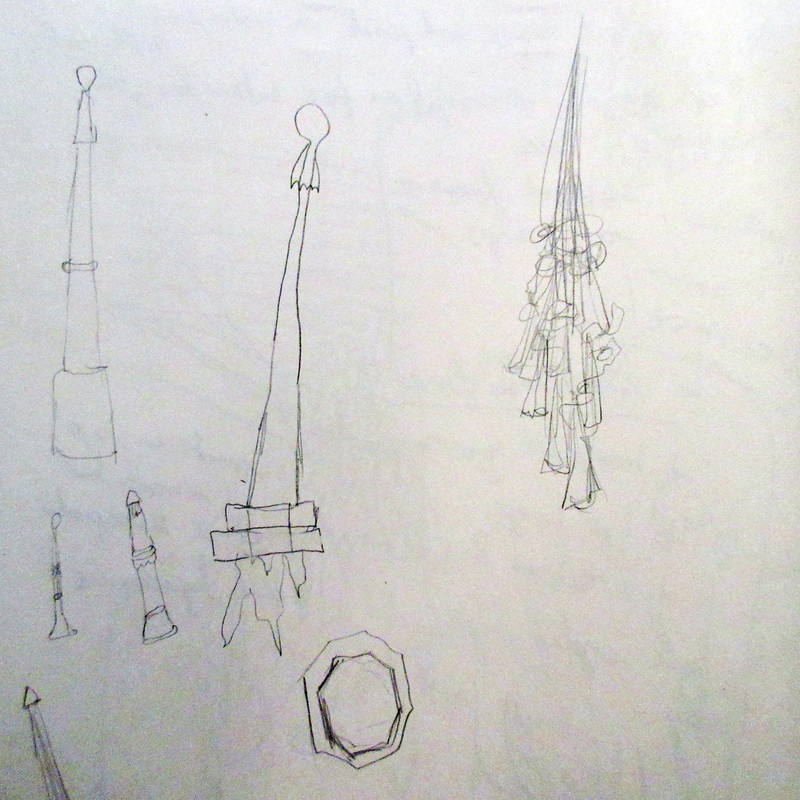
1. Make sketches
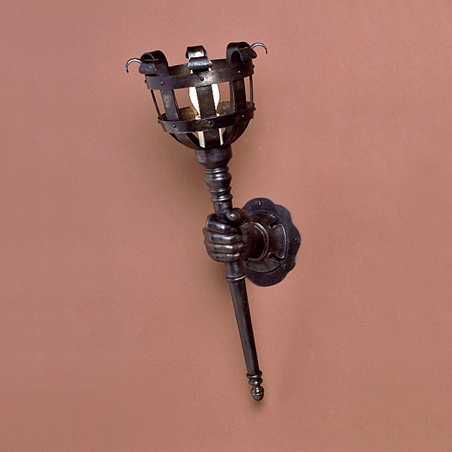
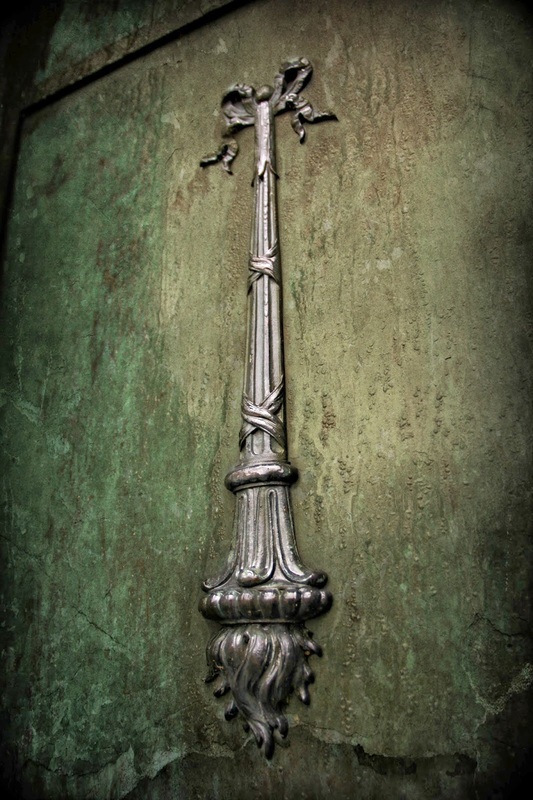
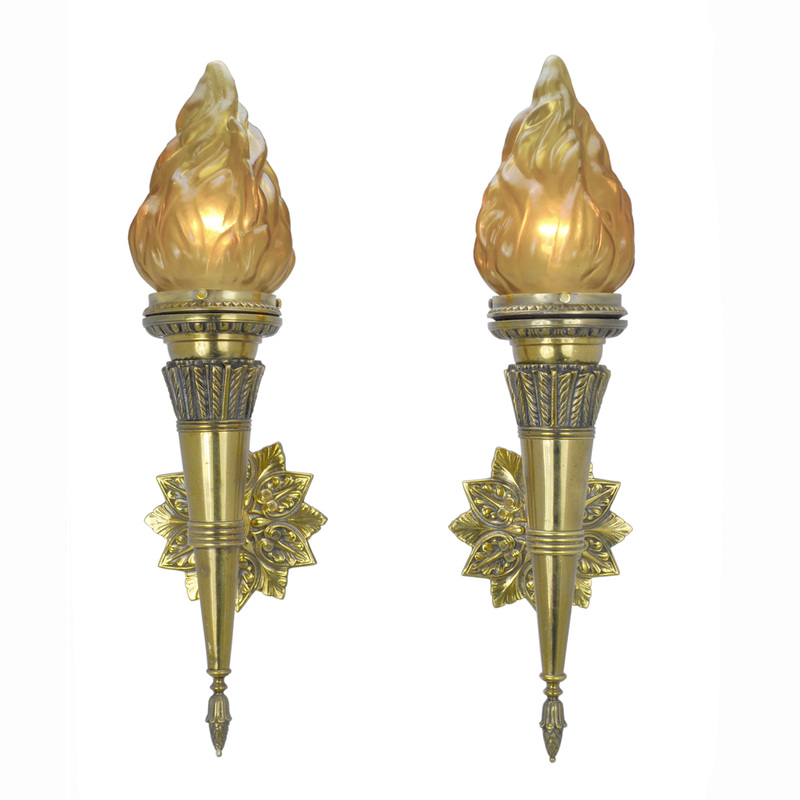
2. Collect pictures for inspiration
|


|
|

3. Collect branches - 09/29/2015
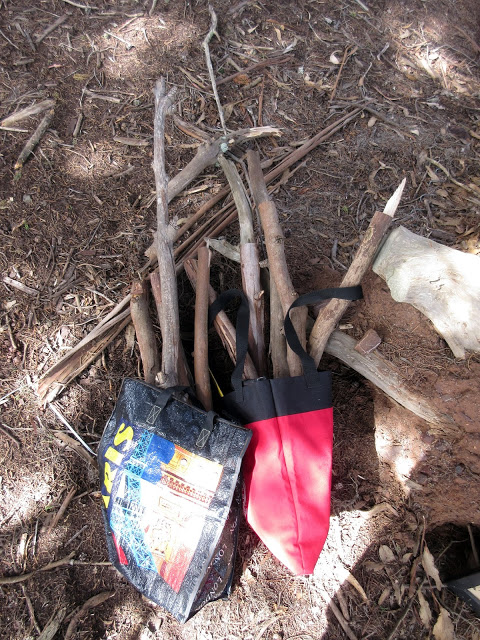
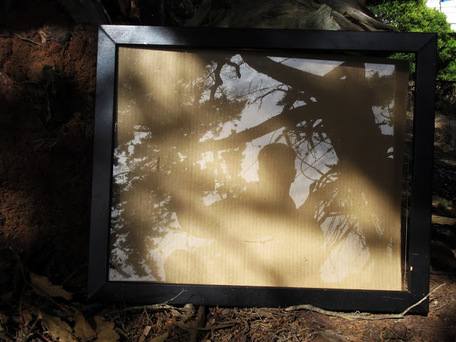
Today I made a major hike to Bernal Heights park to collect branches for my upcoming installation. My goal is to have 50 branches with a couple for practice. They were heavy so I ended up with just 10 branches. Strangely there was an empty black frame leaning against a stump, so I took a self portrait photo. I will visit the park every week.

|
|
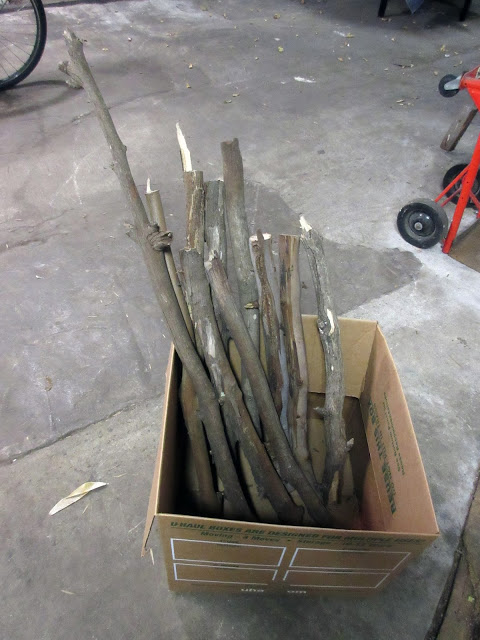
4. Collect more branches - 10/09/2015
5. Work in art studio - 10/20/2015
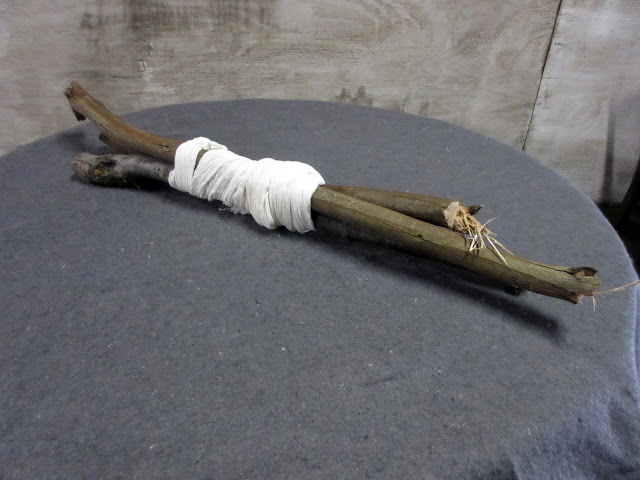
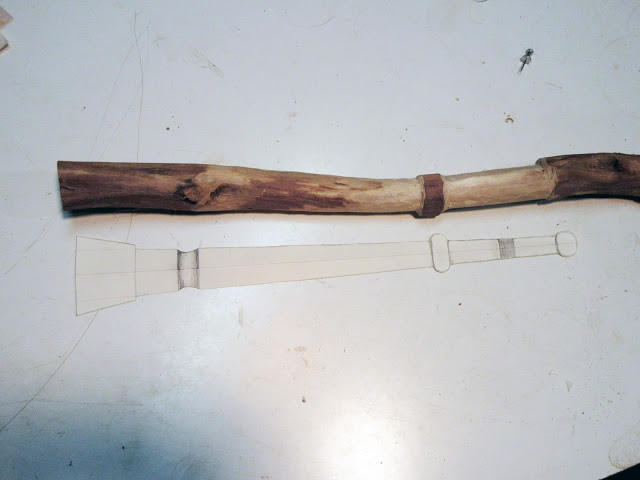
Today I worked on a couple of experiments for two upcoming projects. The first involved carving 50 torches from reclaimed branches. I quickly realized that I need to figure out a faster way to carve them. Not only was it taking a really long time, but I eventually ended up with blisters. I will visit the hardware store soon to see what I can find to help.
The second project was to start attaching broken mirror bits to an armature. I also realized that it was going to take much longer than anticipated. I need to add a lot more shards to the layers on the neck before I can move up to the head.
The second project was to start attaching broken mirror bits to an armature. I also realized that it was going to take much longer than anticipated. I need to add a lot more shards to the layers on the neck before I can move up to the head.
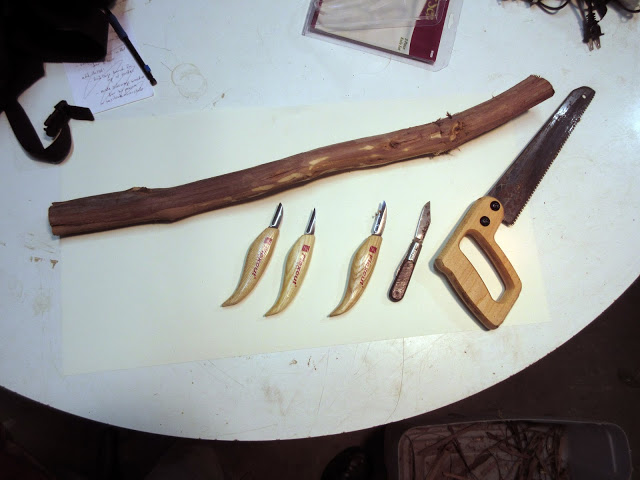
Collecting my tools and preparing to carve.
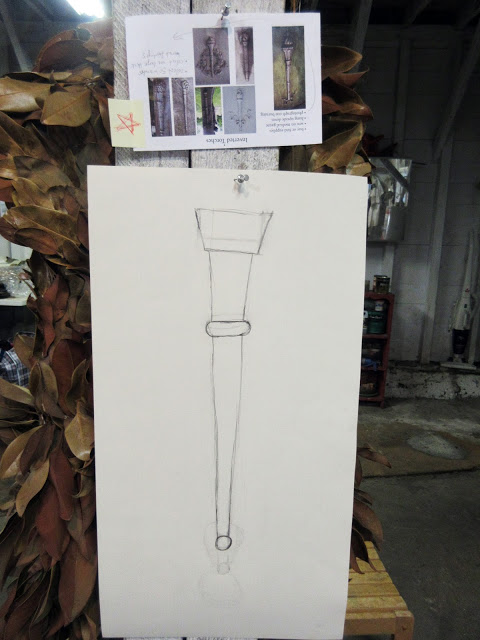
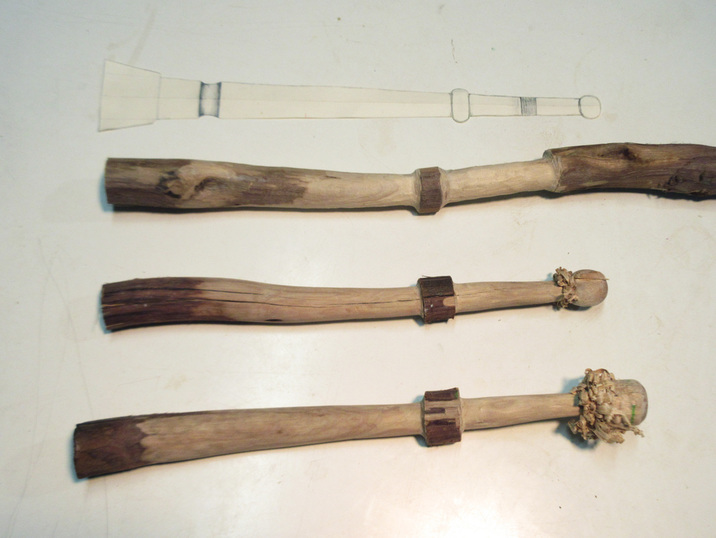
Make a rough sketch of torch.
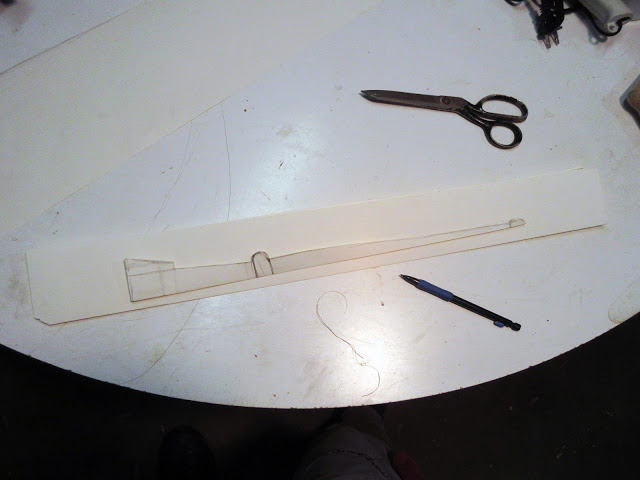
Making a more symmetrical torch pattern by folding in half.
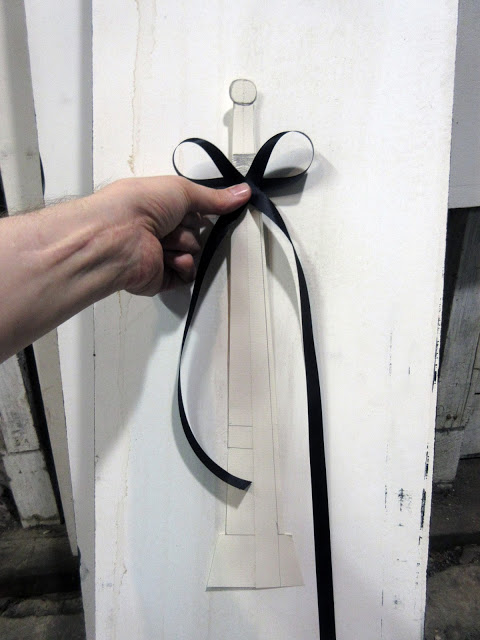
Testing ribbon placement.
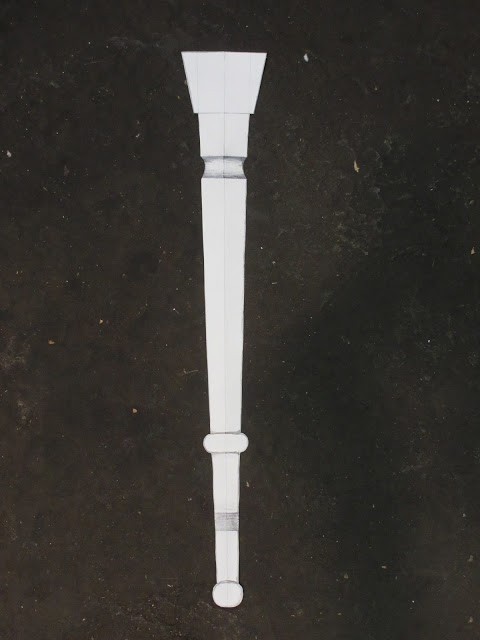
Finished torch template.
6. Create a mockup - 10/25/2015
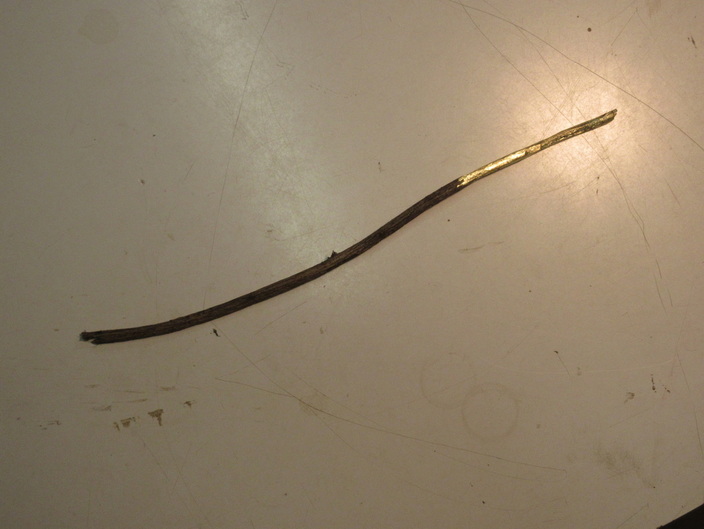
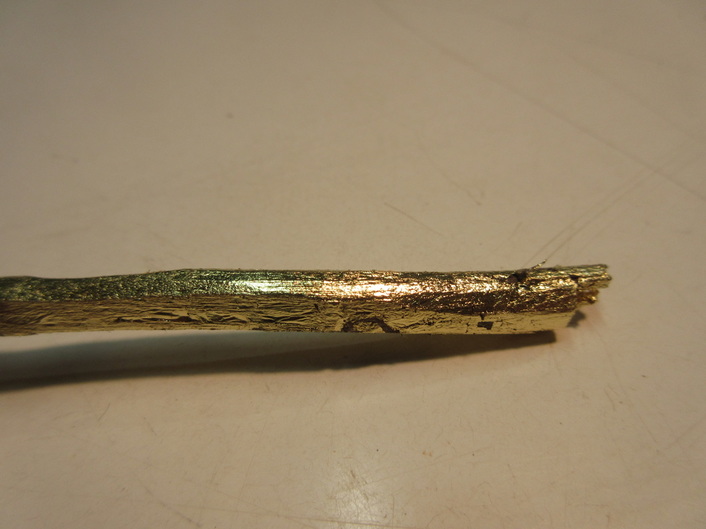
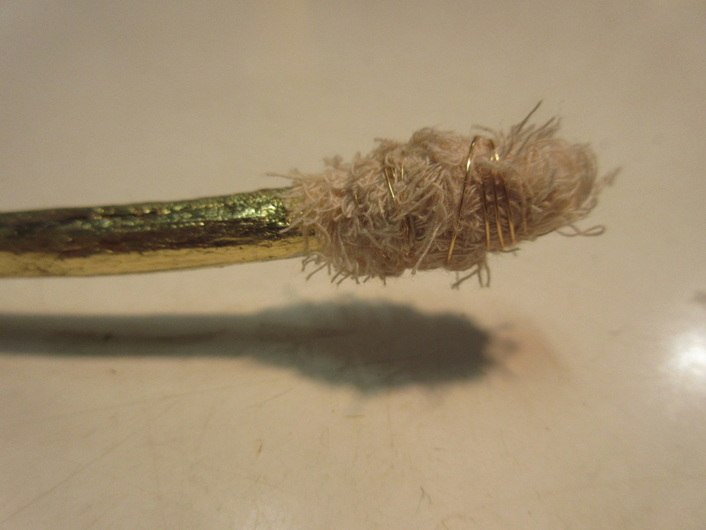
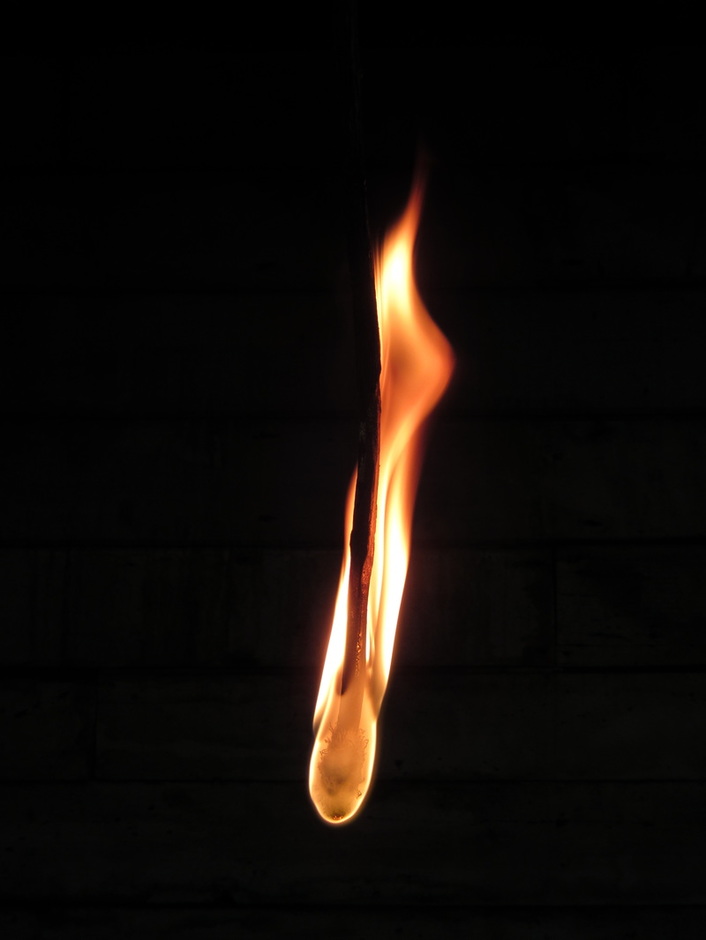
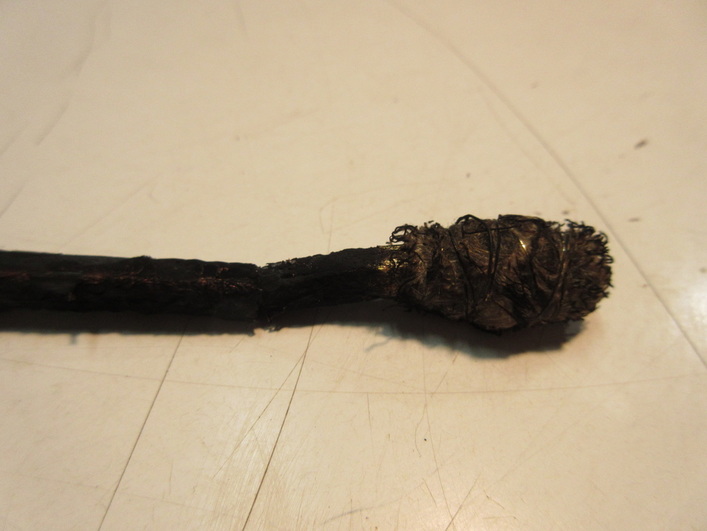
I performed an experiment by gold leafing the end of a stick and lighting it on fire. I was surprised that the gold leaf burnt up.
7. Finding the right tool - 12/06/2015
I've asked my friends for help to figure out the best technique and tool to use for my torch project. I decided to try using a draw knife. I ordered one made by Timber Tuff and the quality was absolutely terrible– the right handle was not secure and the blade was poorly made. I then ordered another one.
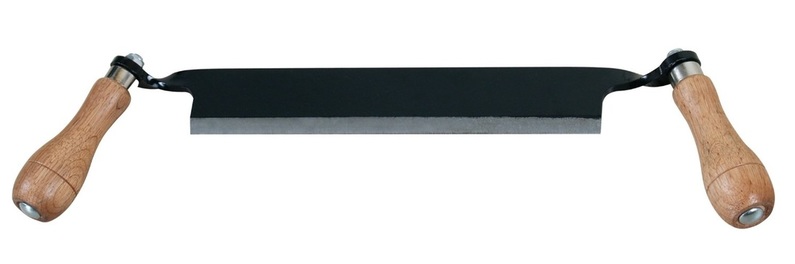
Timber Tuff TMB-05DS Straight Draw Shave Tool, 5"

Arno Flat Forged Drawknife, 6" blade
8. Test the drawknife - 12/15/2015
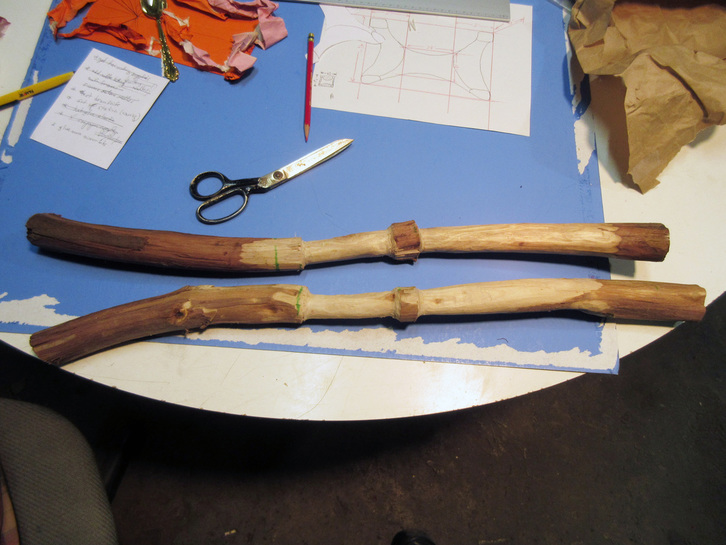
I tested the new and more expensive drawknife. It worked really well creating a second torch. I need to sharpen it, so I will make a miniature tabletop with sandpaper. I may also have a different plan for the ball on the end. I will create these later and glue them on.
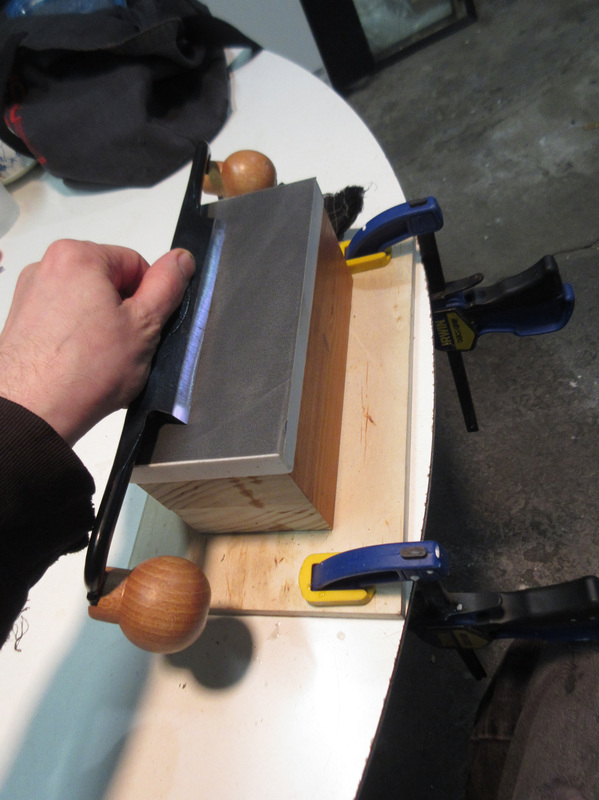
9. Fabricate a knife sharpening stand - 3/25/2016
I finished constructing my knife sharpening stand and spent about 45 minutes beginning the long task of honing the drawknife. I need to spend another session getting it super sharp, but it's getting better.

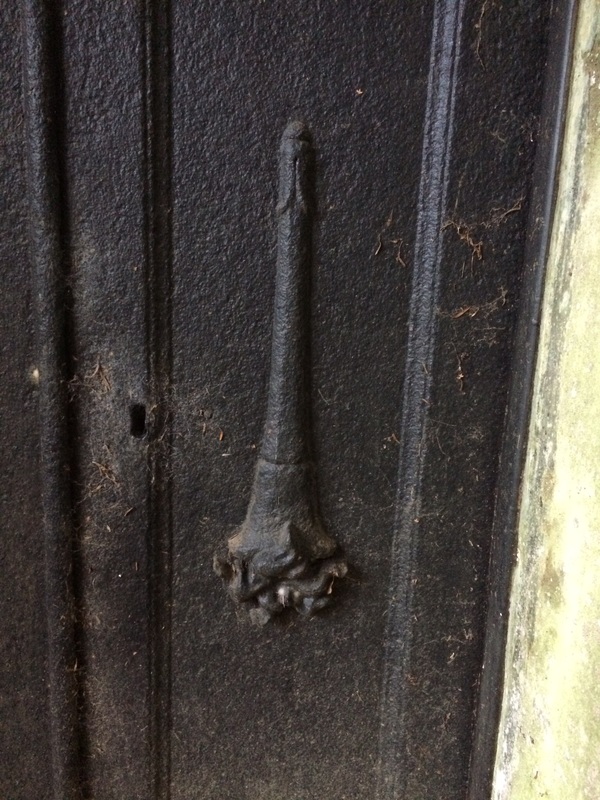
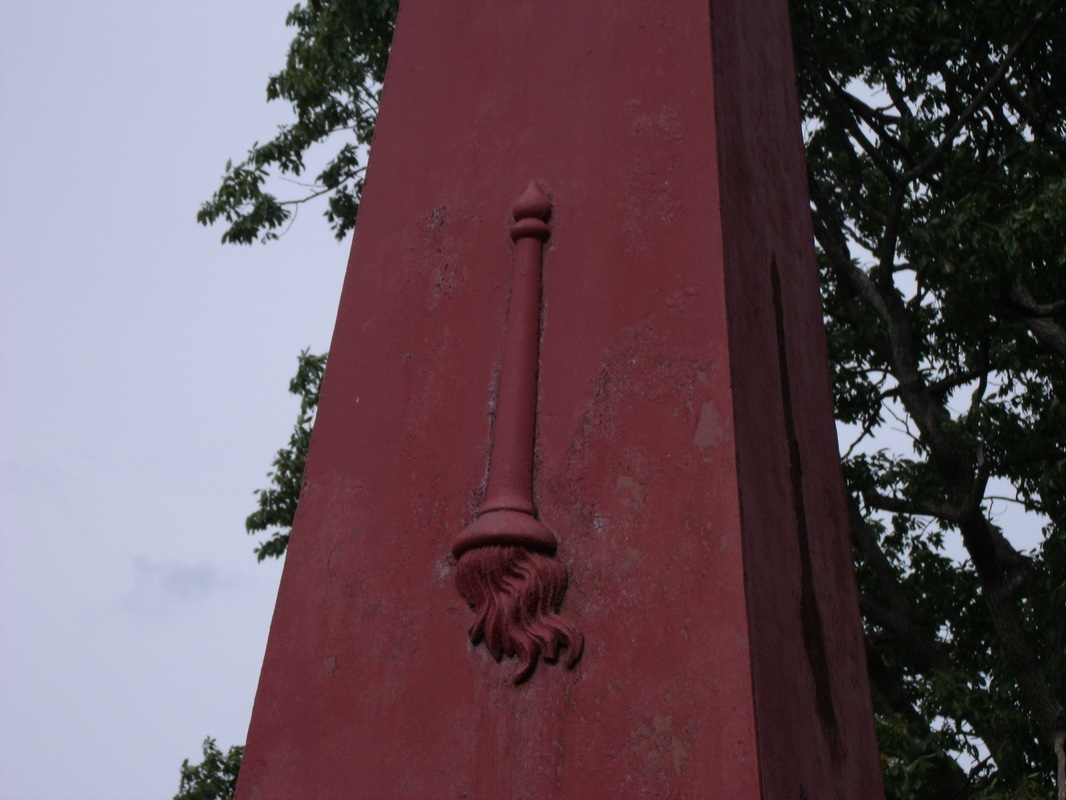
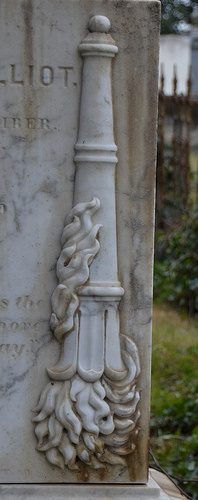
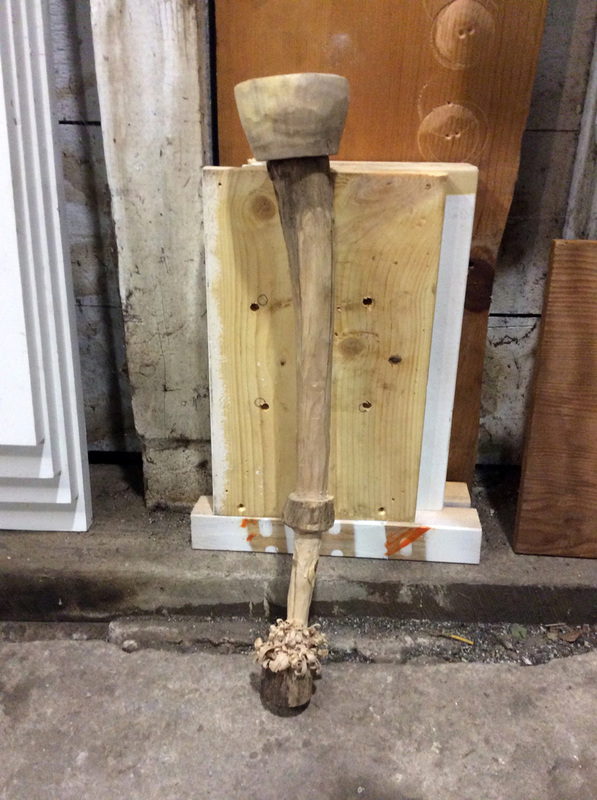
Then I used the freshly sharpened knife to finish carving two torches. I'm excited about the mistake that I discovered. There are curved wood burs that collect all around the neck of the torch and at first I began to remove them, but then stopped when I realized how excellent they look.
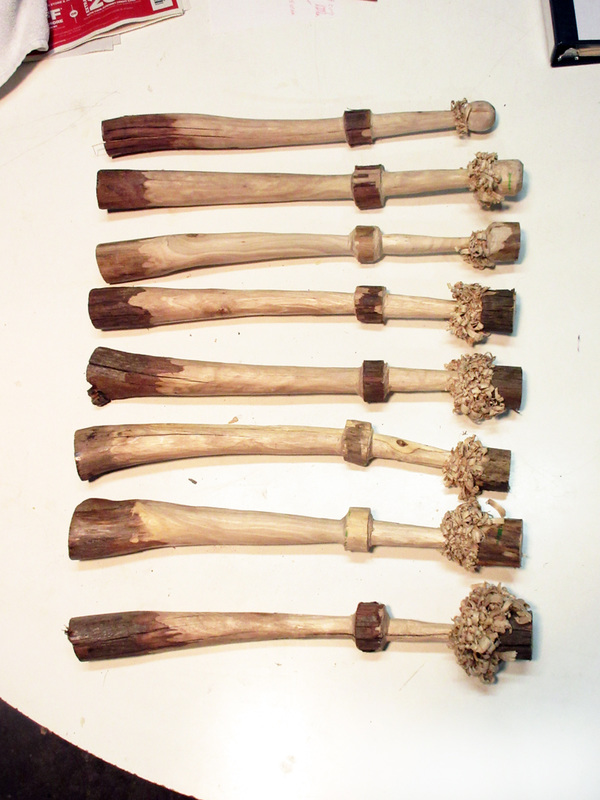
• Carving another torch and reshaping a few old ones - 09/02/2016
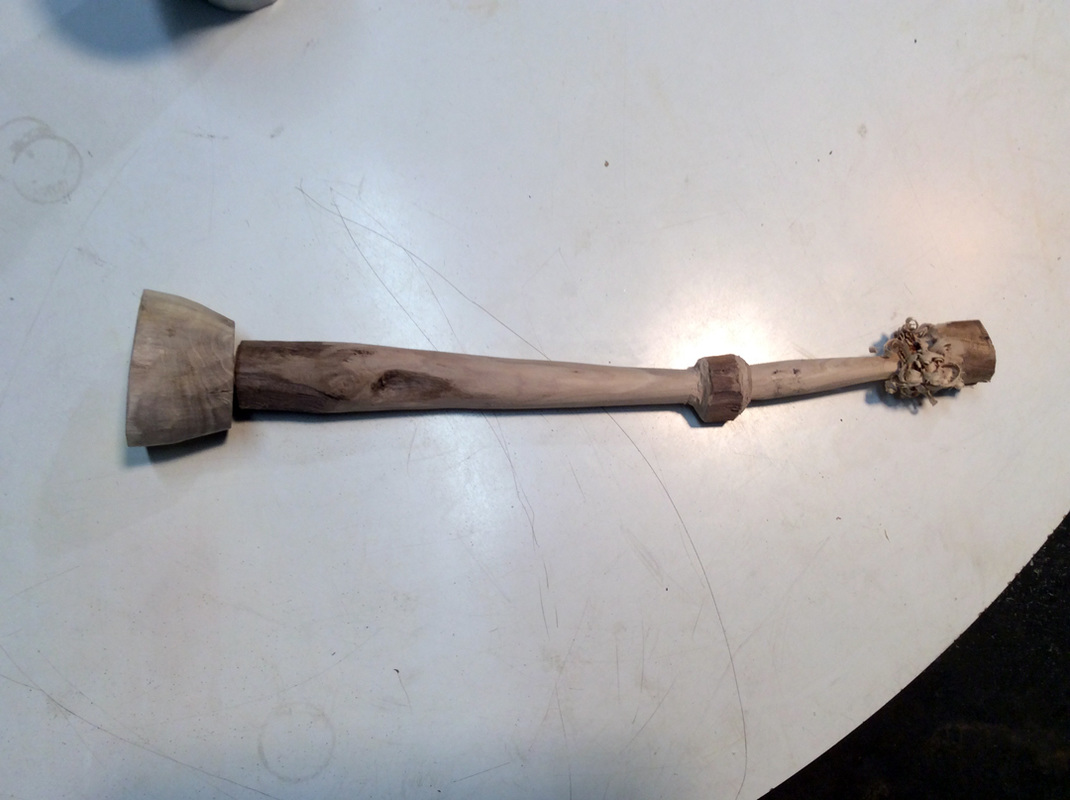
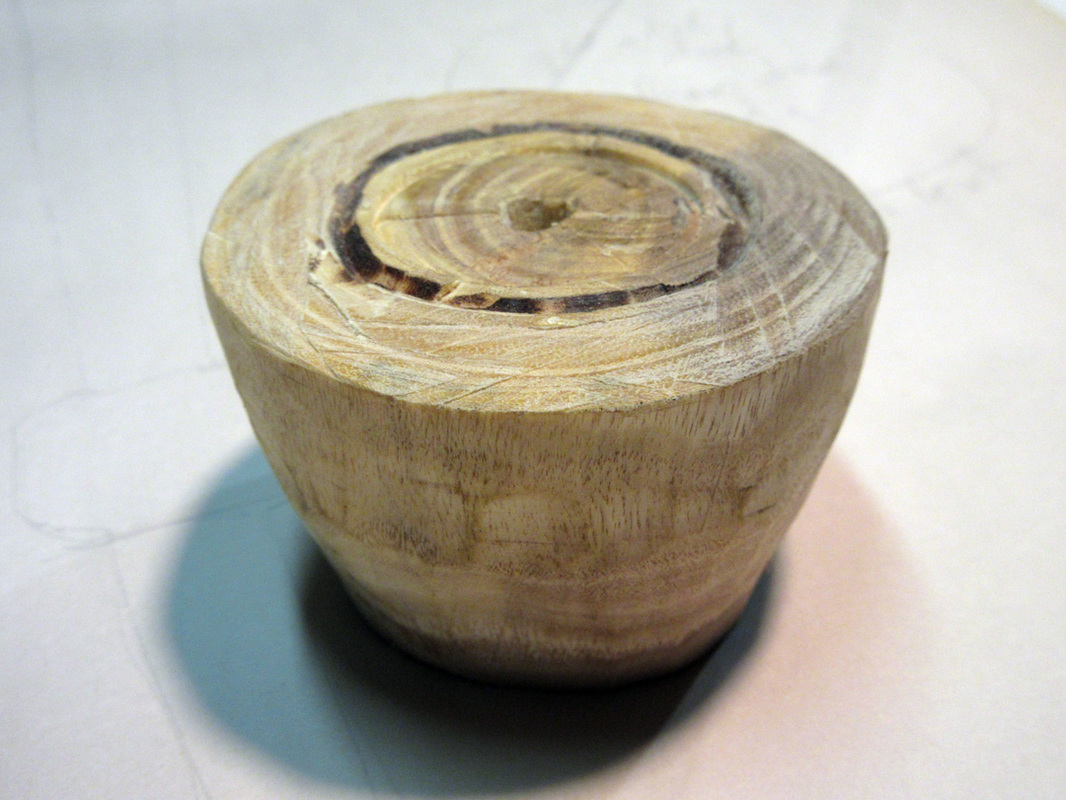
• Working on one of the tops - 10/16/2016
Tonight I worked on one of the first tops of the torches. This wood carved MUCH easier than the handles.

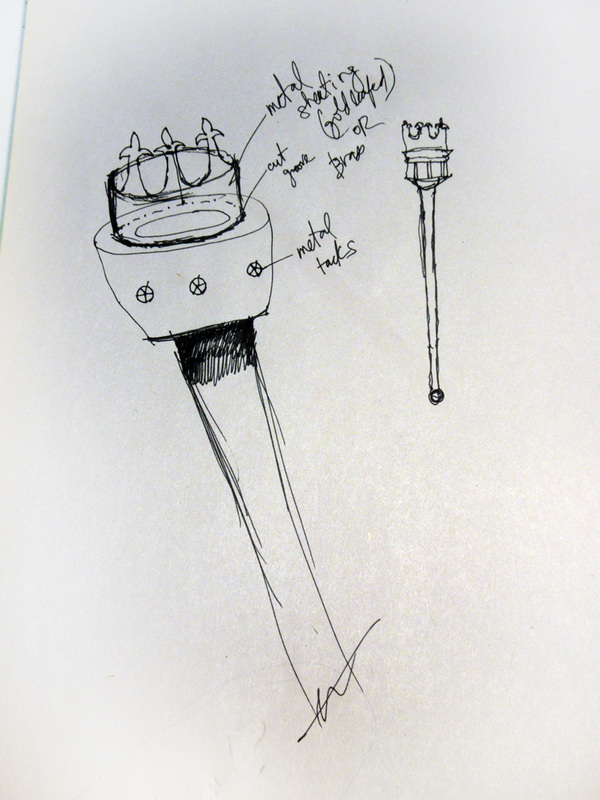
• Working on one of the tops - 10/18/2016
I started by unsuccessfully attempting to drill out a large hole in the wood piece that I recently carved. I tried several different methods and still have not figured out how I am going to accomplish this. While problem solving, I sketched this quick fix using metal sheeting. Not sure I like it, but it's just an idea. Perhaps I'll use a flurry of wire instead?
• Working on more of the tops - 11/09/2016